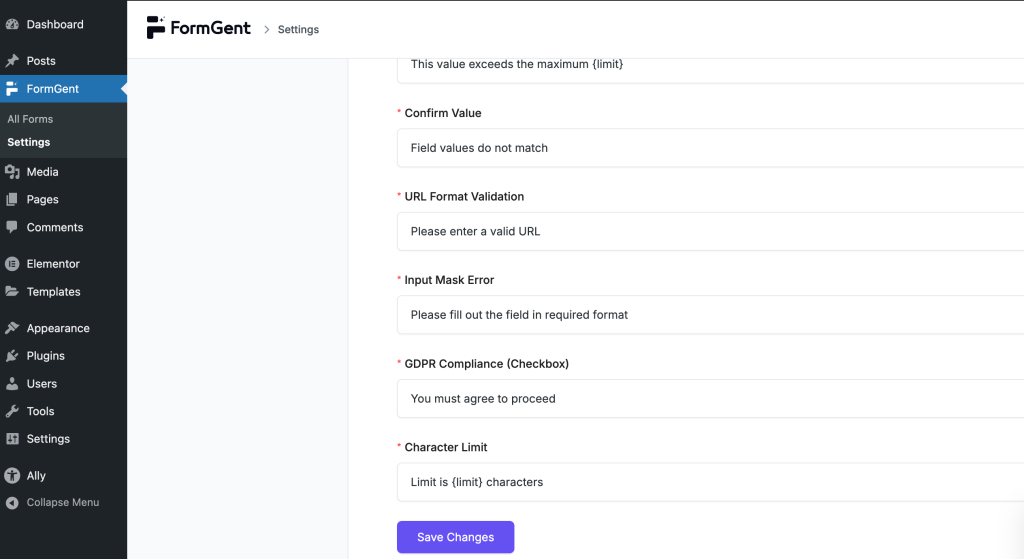
The Validation tab allows you to customize the error messages shown to users when their input doesn’t meet the field requirements. Each message corresponds to a specific validation rule applied to form fields. You can update the default text to match your site’s tone, language, or UX preferences.
Validation Type
Default Message
Description
Required Field
This field is required
Shown when the user skips a mandatory field.
Email
This field must contain a valid email
Triggered when the input is not in a valid email format (e.g., missing @ or .com).
Number
This field must contain numeric value
Appears when non-numeric characters are entered in a number-only field.
Minimum Value
This value is below the minimum {limit}
Displayed when a number is entered below the allowed minimum (e.g., min age: 18). {limit} auto-fills the defined minimum.
Maximum Value
This value exceeds the maximum {limit}
Triggered when a number input is greater than the specified maximum.
Confirm Value
Field values do not match
Shown when two fields meant to match (e.g., password and confirm password) don’t have identical values.
You can use dynamic placeholders like {limit} where applicable.
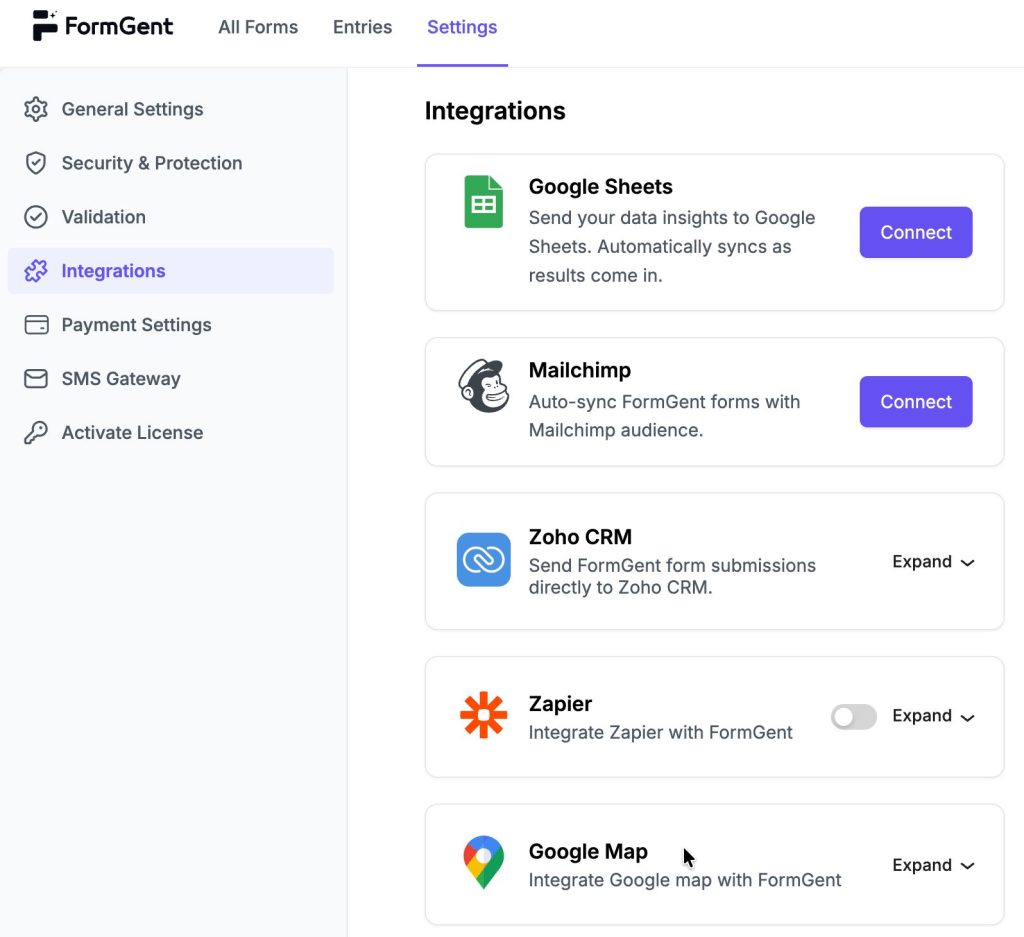
The Integrations settings in FormGent allow you to connect your forms with third-party services and tools to automate workflows, enhance communication, and streamline data collection.
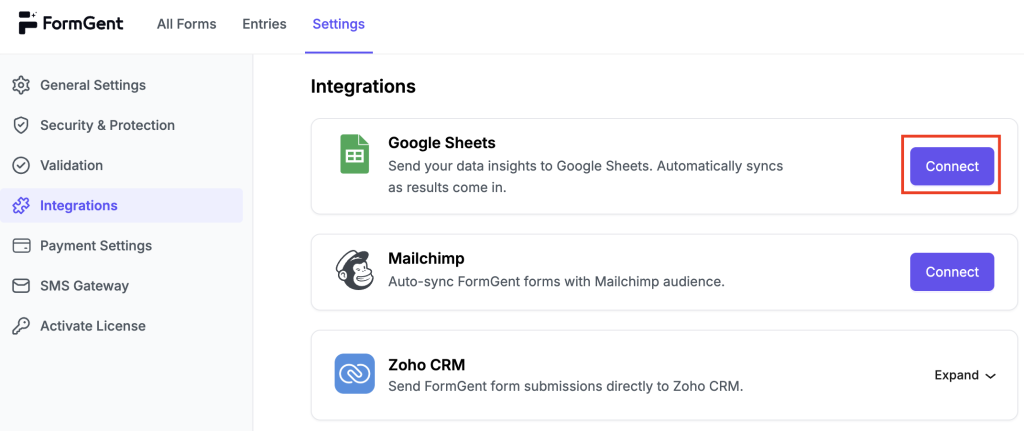
Google sheets integration settings option comes with a Connect button on the right side.
Click the button to authorize FormGent access to your specific Google Sheet for adding new rows or allow it to create a new sheet.
Once connected, a toggle button will appear on the right. Clicking that can quickly enable or disable your Google Sheet integration status.
Your connected google account email will appear below with a connected sign and small green icon in the left signaling that you have successfully connected it.
Beside the toggle button, there are three dots (…) click which you will find an option to disconnect Google sheet integration.
If you click the Disconnect Integration option, a popup with a confirmation message will appear on the screen. To confirm disconnection, click on Yes, Disconnect option.
You can connect again using the above specific process.
The Mailchimp integration automatically syncs your FormGent form submissions to your Mailchimp audience list, keeping your email list updated without any manual effort.
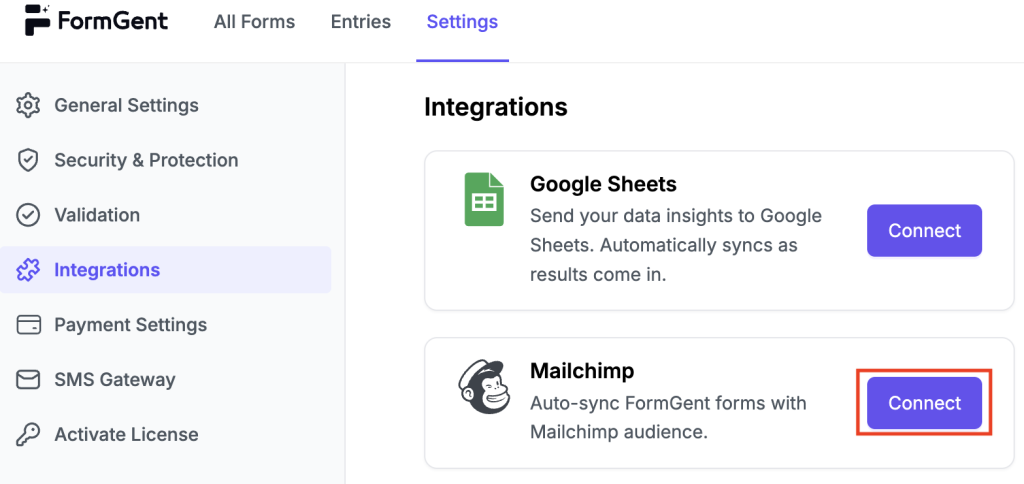
Click the Connect button next to Mailchimp to begin. A Mailchimp login window will appear.
Sign in with your credentials or via Google.
Once logged in, click Allow to authorize FormGent.
After a successful connection, a green Connected badge will appear under Mailchimp in the integrations panel.
The Zoho CRM integration allows FormGent to send form submission data directly to your Zoho CRM account – automatically creating or updating Leads, Contacts, and other records in real time.
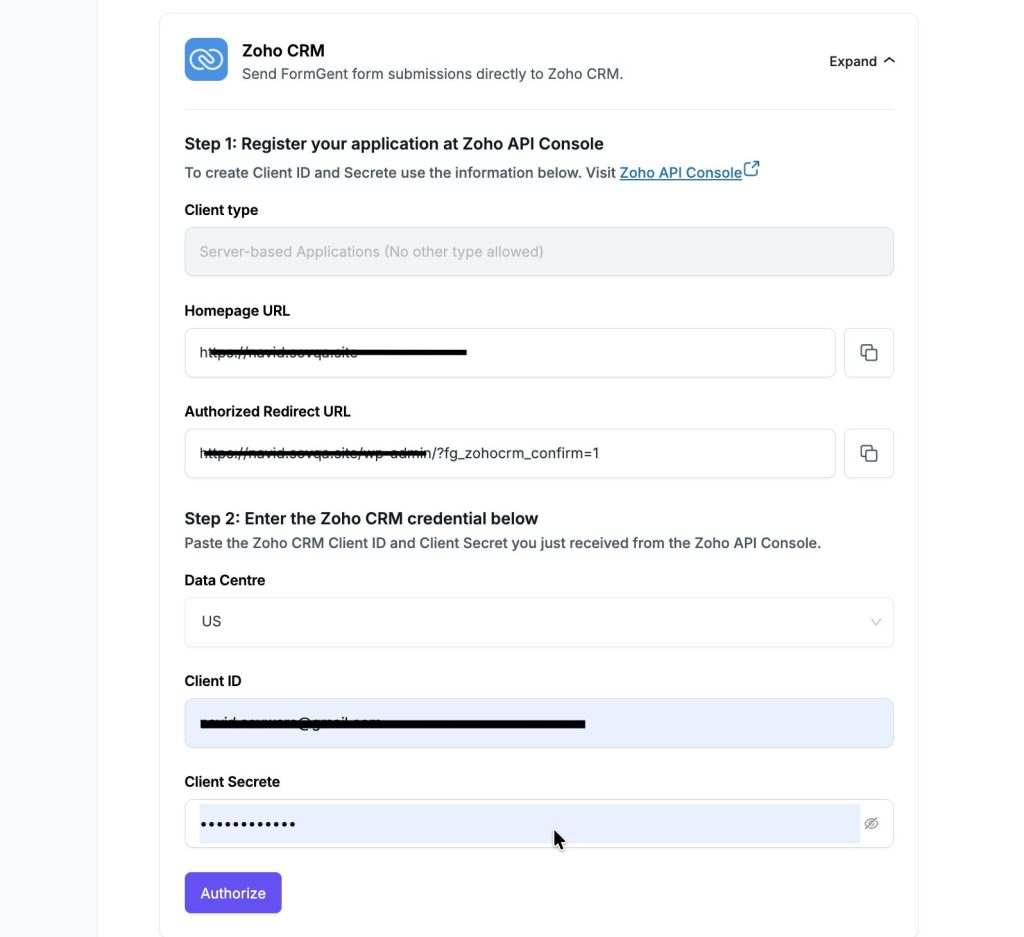
Click Expand next to Zoho CRM to reveal the setup panel. The setup is divided into two steps:
1.Register your application at Zoho API Console
To generate your Client ID and Client Secret, you need to first register FormGent at the Zoho API Console (link provided inside the panel). The following fields are pre-filled by FormGent for you to copy and use during registration:
Client Type – Locked to Server-based Applications. No other type is allowed or selectable.
Homepage URL – Auto-filled with your site’s URL (e.g., https://yoursite.com). Use the copy button on the right to copy it without errors.
Authorized Redirect URL – Auto-filled with your site’s redirect URL including the FormGent callback parameter (e.g., https://yoursite.com/wp-admin/?fg_zohocrm_confirm=1). Use the copy button to avoid any mismatch or typo.
2. Enter the Zoho CRM credentials
Once you have your credentials from the Zoho API Console, fill in the following fields:
Data Centre – A dropdown to select the region where your Zoho account is registered (e.g., US, EU, IN, AU, JP). Select the one that matches your Zoho account’s data centre.
Client ID – Paste the Client ID generated from the Zoho API Console.
Client Secret – Paste the Client Secret. The field is masked by default; click the eye icon on the right to reveal your input.
Once all fields are filled, click Authorize to complete the connection. FormGent will handle token refresh automatically after the initial authorization.
To enable or disable the integration at any time, use the toggle button next to Zoho CRM without losing your saved credentials.
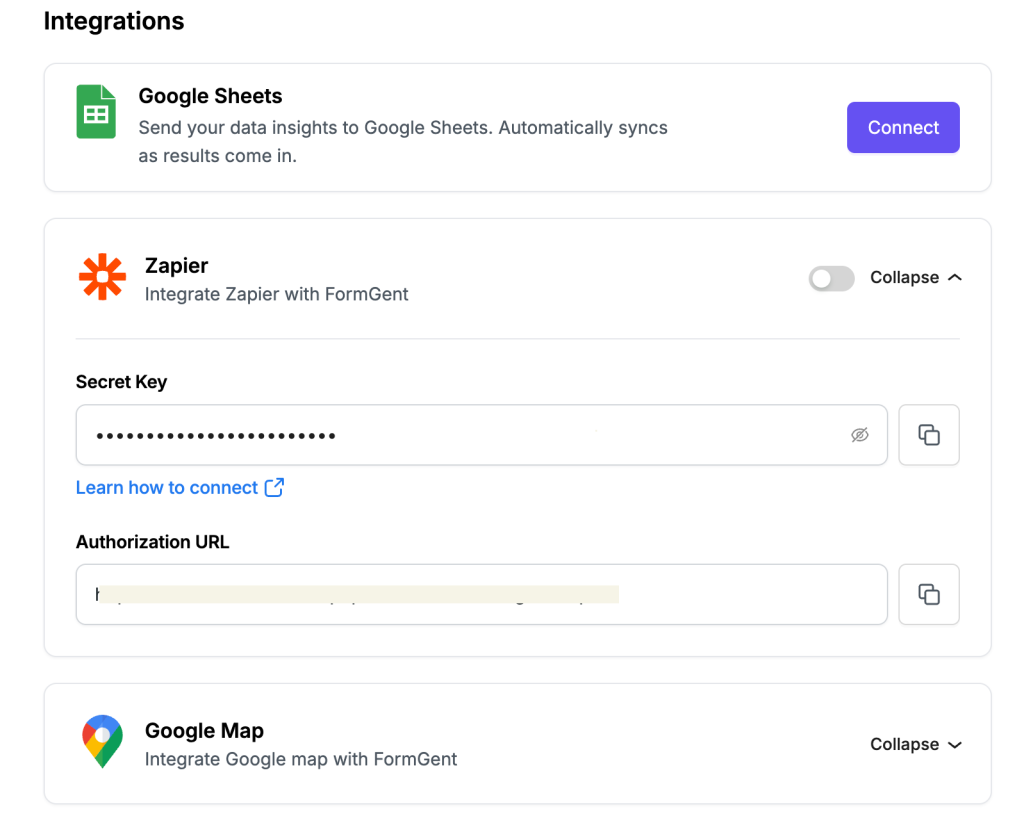
The Zapier integrations setting placed below Google Sheets has a toggle button in the left, a Collapse text button followed by a downward/upward arrow indicating that the fields are collapsed or exposed.
To enable the integration, first you need to configure your Zapier integration settings. Click the Collapse button to expose the fields which will appear below.
The Zapier integrations require 1 Secret key and 1 authorization URL which you can get from your Zapier account. The Secret key box is input masked but you can display your input by clicking the eye icon placed at the rightmost corner of your box.
On the right side of the box, a copy button is placed using which you can instantly copy your secret key input to paste it somewhere else.
Below the field, a URL of the detailed Zapier integration process is placed.
The authorization URL is also an input field which can be filled using the information from your Zapier account as explained in the article.
On the right side of the box is another copy button which you can use to instantly copy your authorization URL and paste it somewhere else.
Use the Collapse option to keep your Secret Key and URL protected.
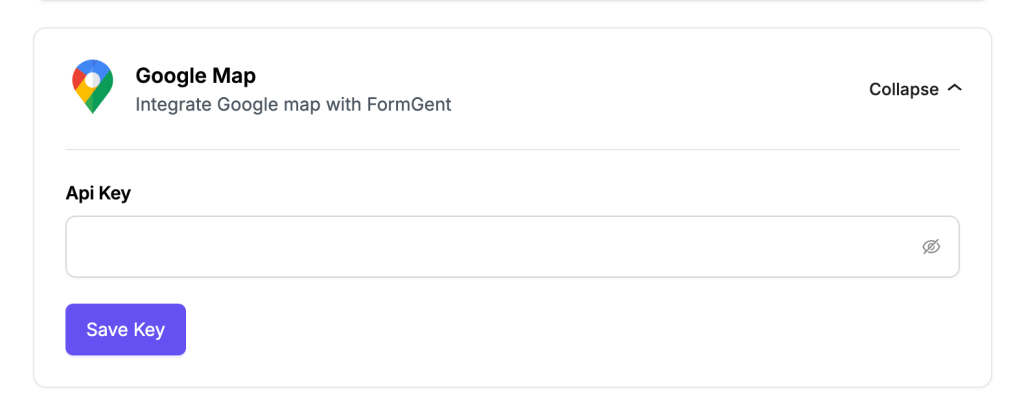
The Google Maps integrations setting is the 3rd option on the Integrations setting page. Like Zapier, it also has a collapsible field below which you can reveal by clicking the Collapse button on the right.
The Downward/upward arrow displays the display status of your field.
Below is an input field labeled as API key where you need to put your Google Maps API key.
After updating your API key, click on Save Key to ensure that the API key has been saved on your FormGent settings.
Typically masked but you can also unmark your API key by hitting the eye icon on the right corner of the field.
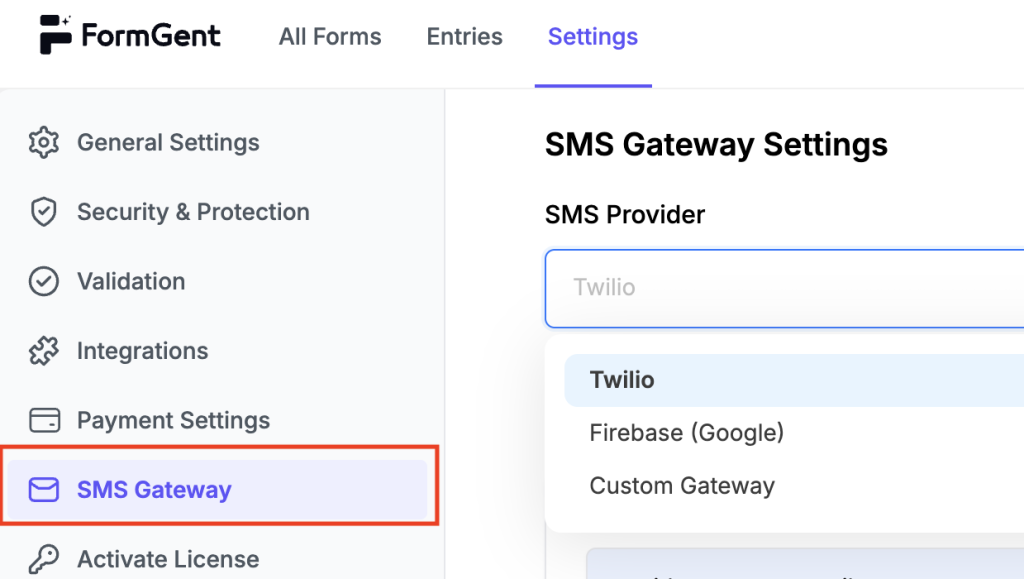
FormGent allows you to configure an SMS provider to send automated text messages triggered by form submissions. Use the SMS Provider dropdown to choose from three available options:
Firebase (Google) – Requires your Project ID and Web API Key from the Firebase Console.
Twilio – Requires your Account SID, Auth Token, and a verified From Phone Number from your Twilio account.
Custom Gateway – Allows you to connect any third-party SMS service using a custom HTTP endpoint, method, auth type, and JSON body template with {{to}} and {{message}} placeholders.
Click Save Changes after entering your credentials for the selected provider.
For detailed field-by-field setup instructions for each provider, see the full SMS Gateway Integrationguide.
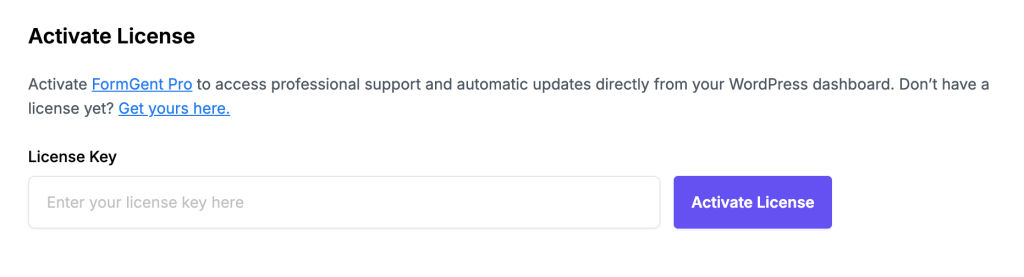
The last option on the FormGent global settings page is the Activate License page. This option is used for FormGent Pro users activating their license.
FormGent Pro license is available in the user’s FormGent profile. Instructions for acquiring it are linked above the license field.
Beside the license key field, the button labeled Activate License is placed. Upon pasting your license on the input field, click on the button to activate your FormGent Pro license.
If you have downloaded the FormGent Pro plugin and uploaded it on your WordPress, you no longer need to put your license here. Your Pro features are already activated.
For any issues regarding your license activation, create a ticket from the Support option in your FormGent account