
Multi-step forms are an excellent way to enhance user experience by breaking down lengthy forms into manageable steps. Here’s how you can create step-by-step forms using FormGent:
1. Add a Page Break Element #
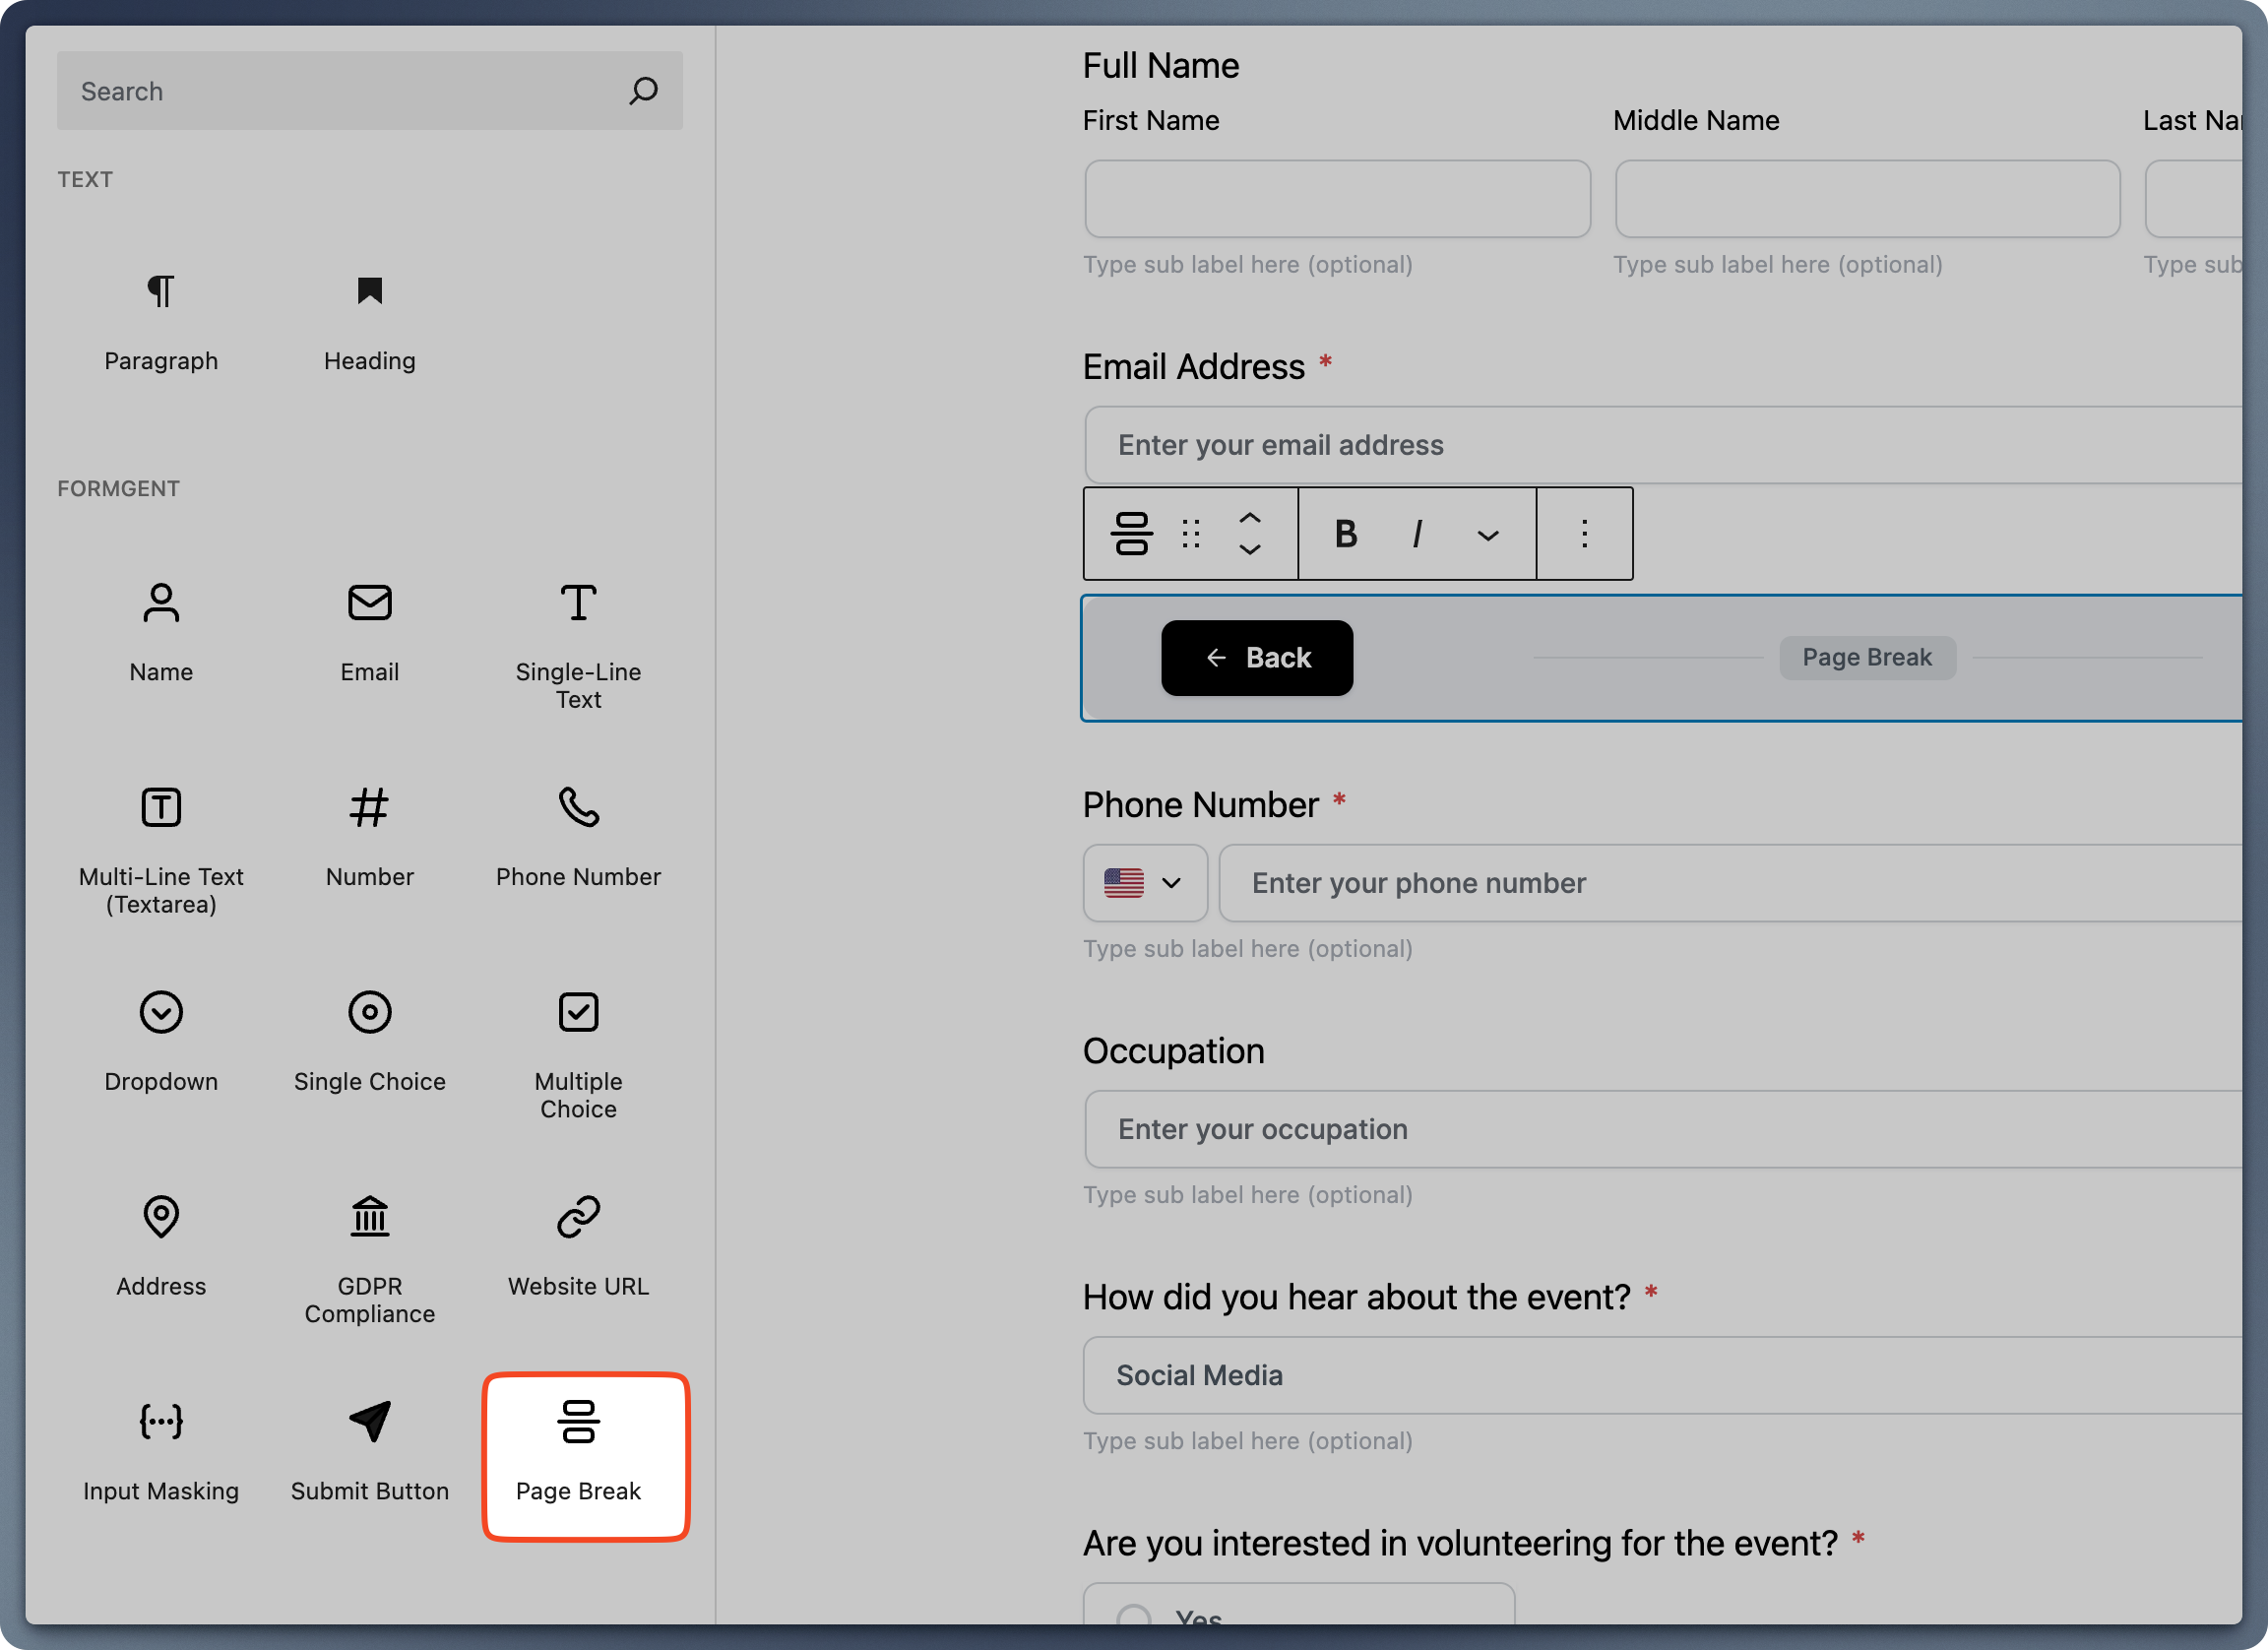
Drag the Page Break element to the desired point in your form. This marks the end of a step. For example:
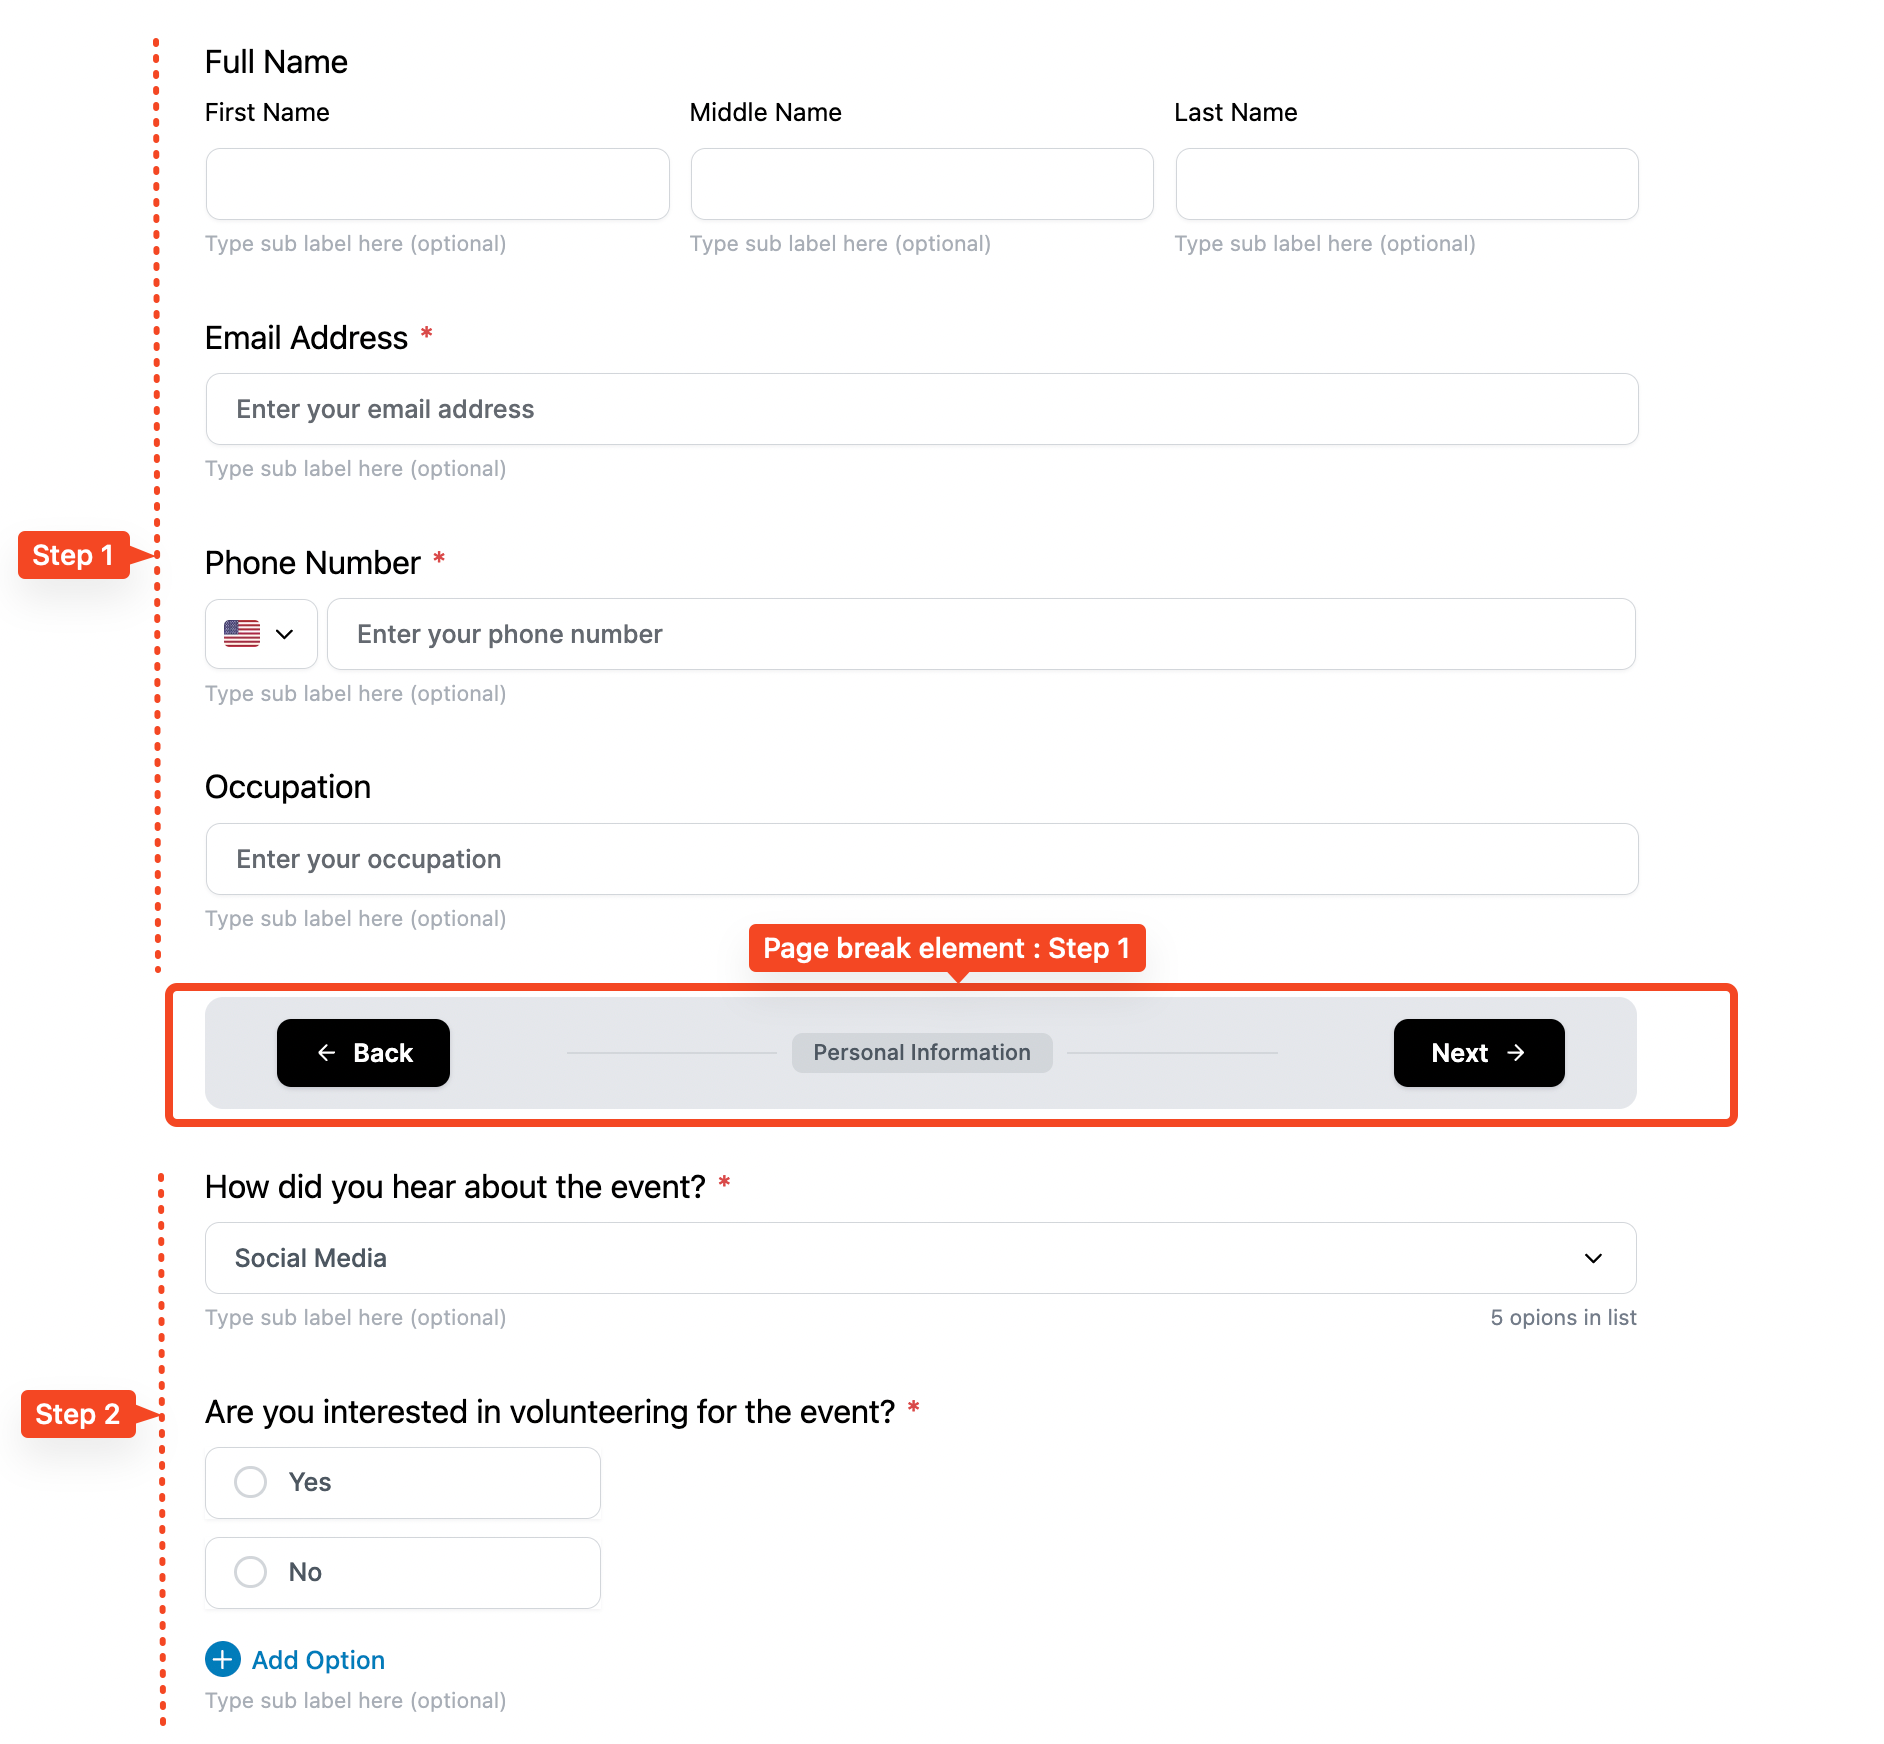
- Fields before the first Page Break belong to Step 1.
- Fields after the first Page Break belong to Step 2, and so on.
⚠️ Important: Ensure you add a Page Break at the very end of your form. Without it, the multi-step functionality won’t work correctly.
2. Customize Step Names #
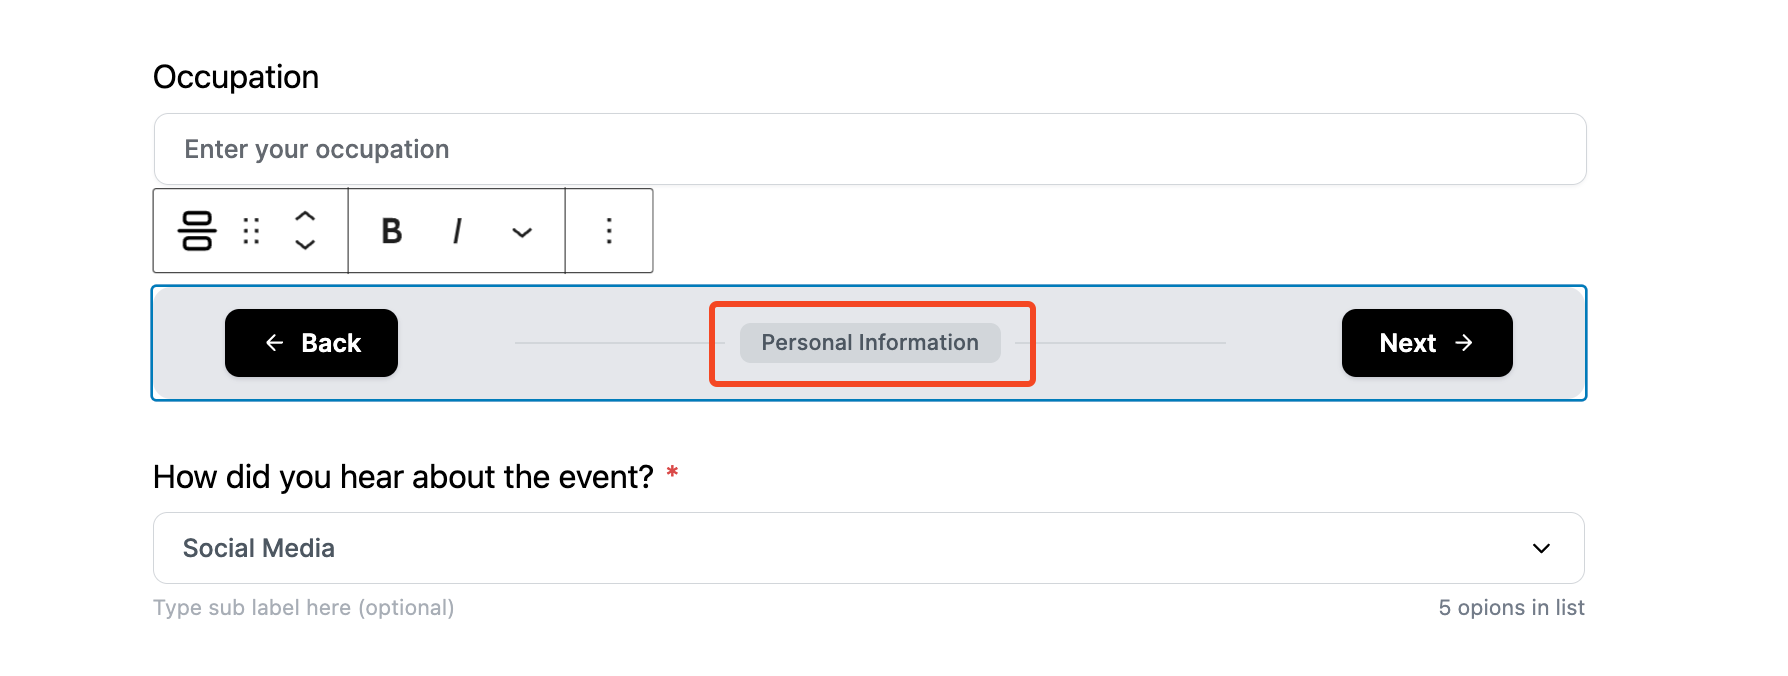
Each Page Break element includes a label (e.g., “Step 1”). You can rename it to match your form’s purpose, such as “Personal Details” or “Appointment Details.”
3. Configure Page Break Settings #
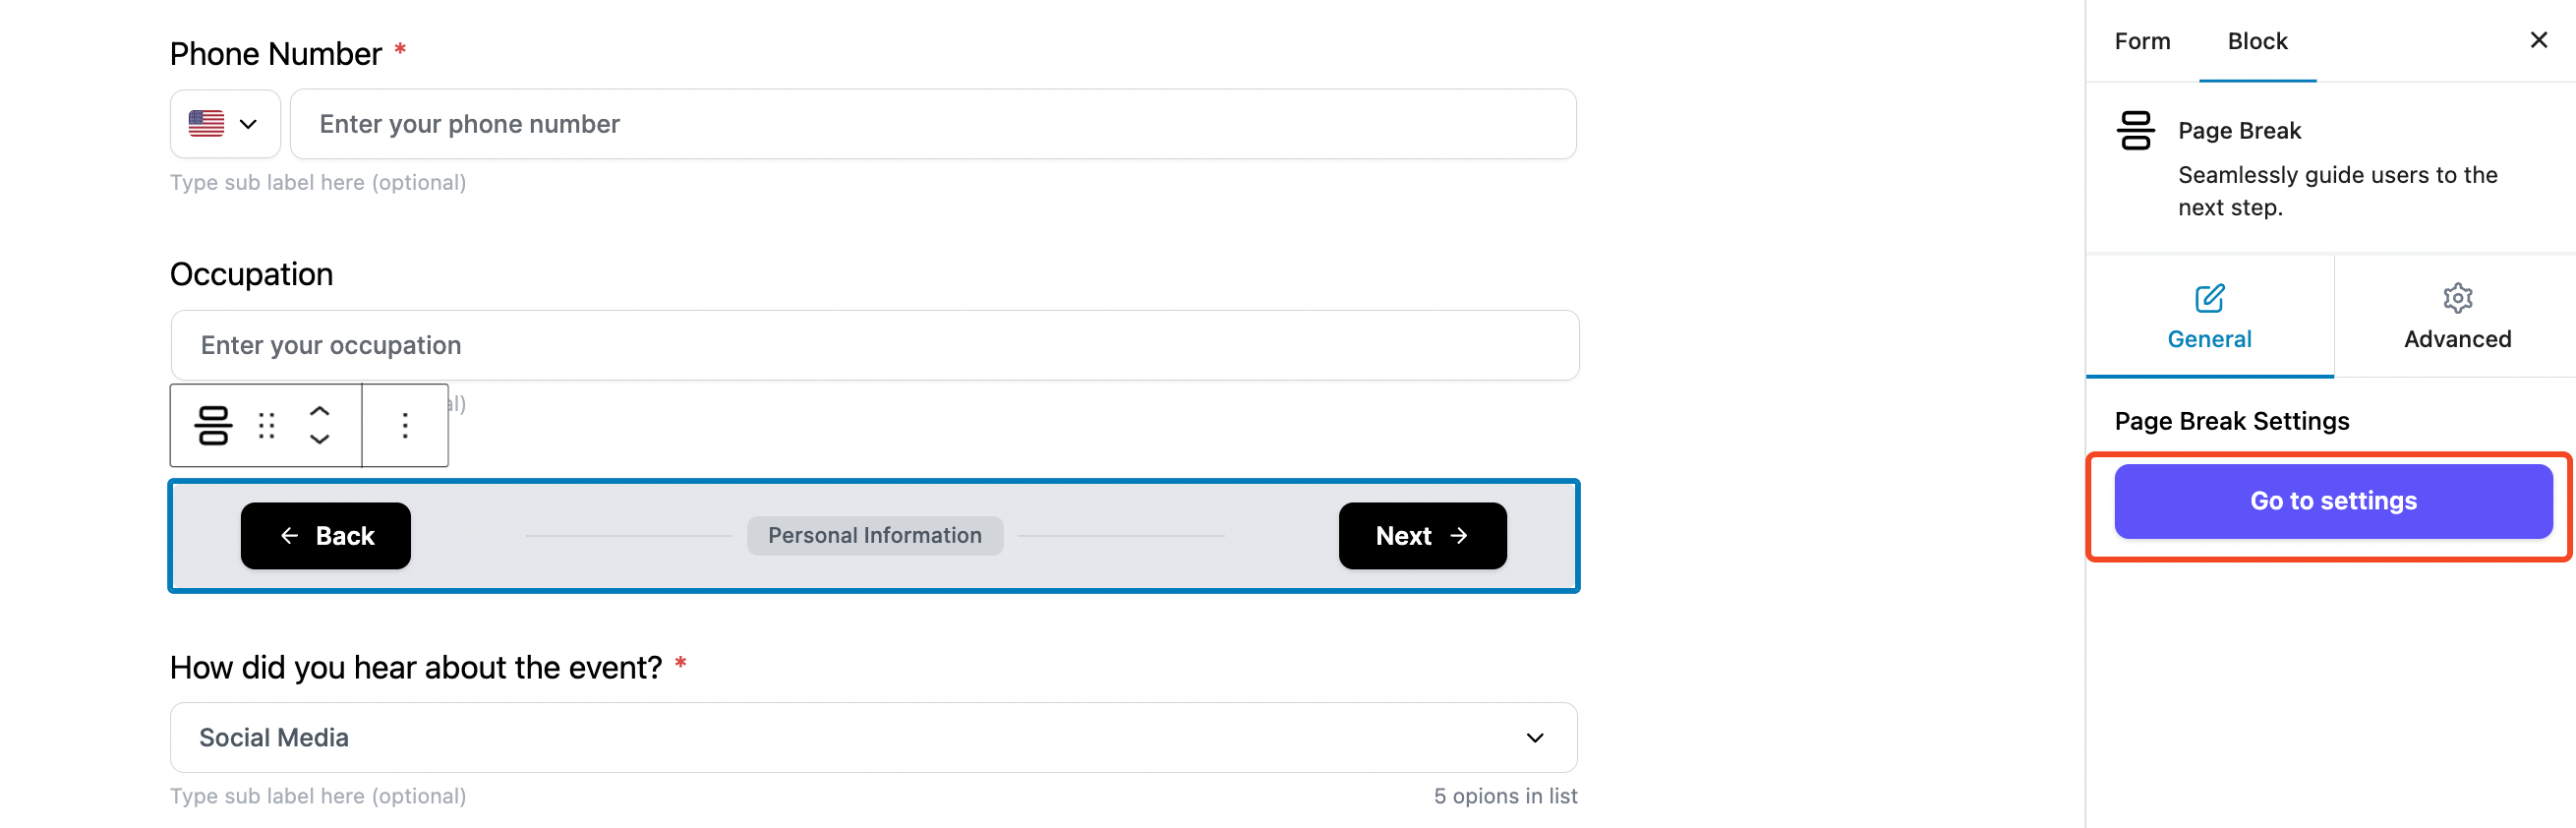
Click on the Page Break element → Go to Settings to access its settings in the Form Settings panel:
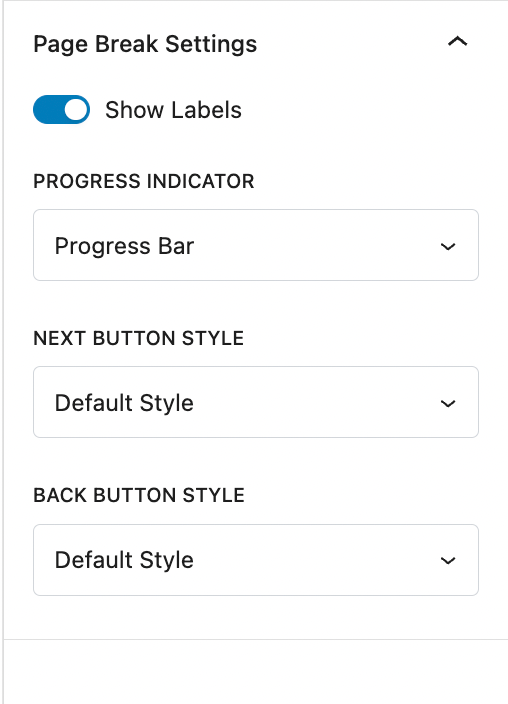
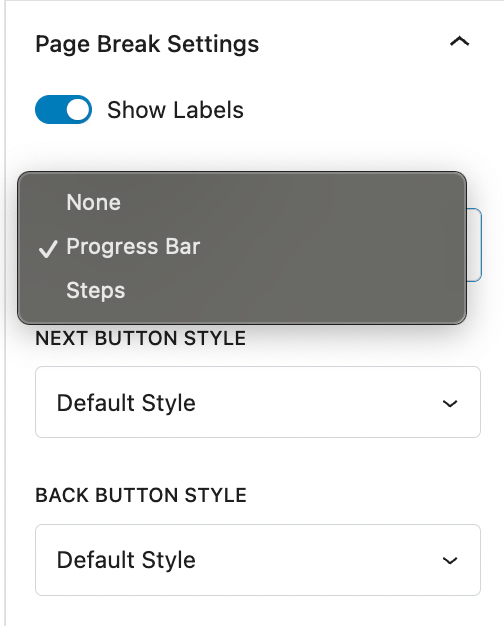
- Show Labels: Toggle this option to display or hide the step labels you’ve set (e.g., “Step 1” or custom names).
- Progress Indicator: Choose how you want to show progress to users:
- Steps: Displays step names like “Step 1,” “Step 2.”
- Progress Bar: Shows a visual progress bar.
4. Finalizing the Design #
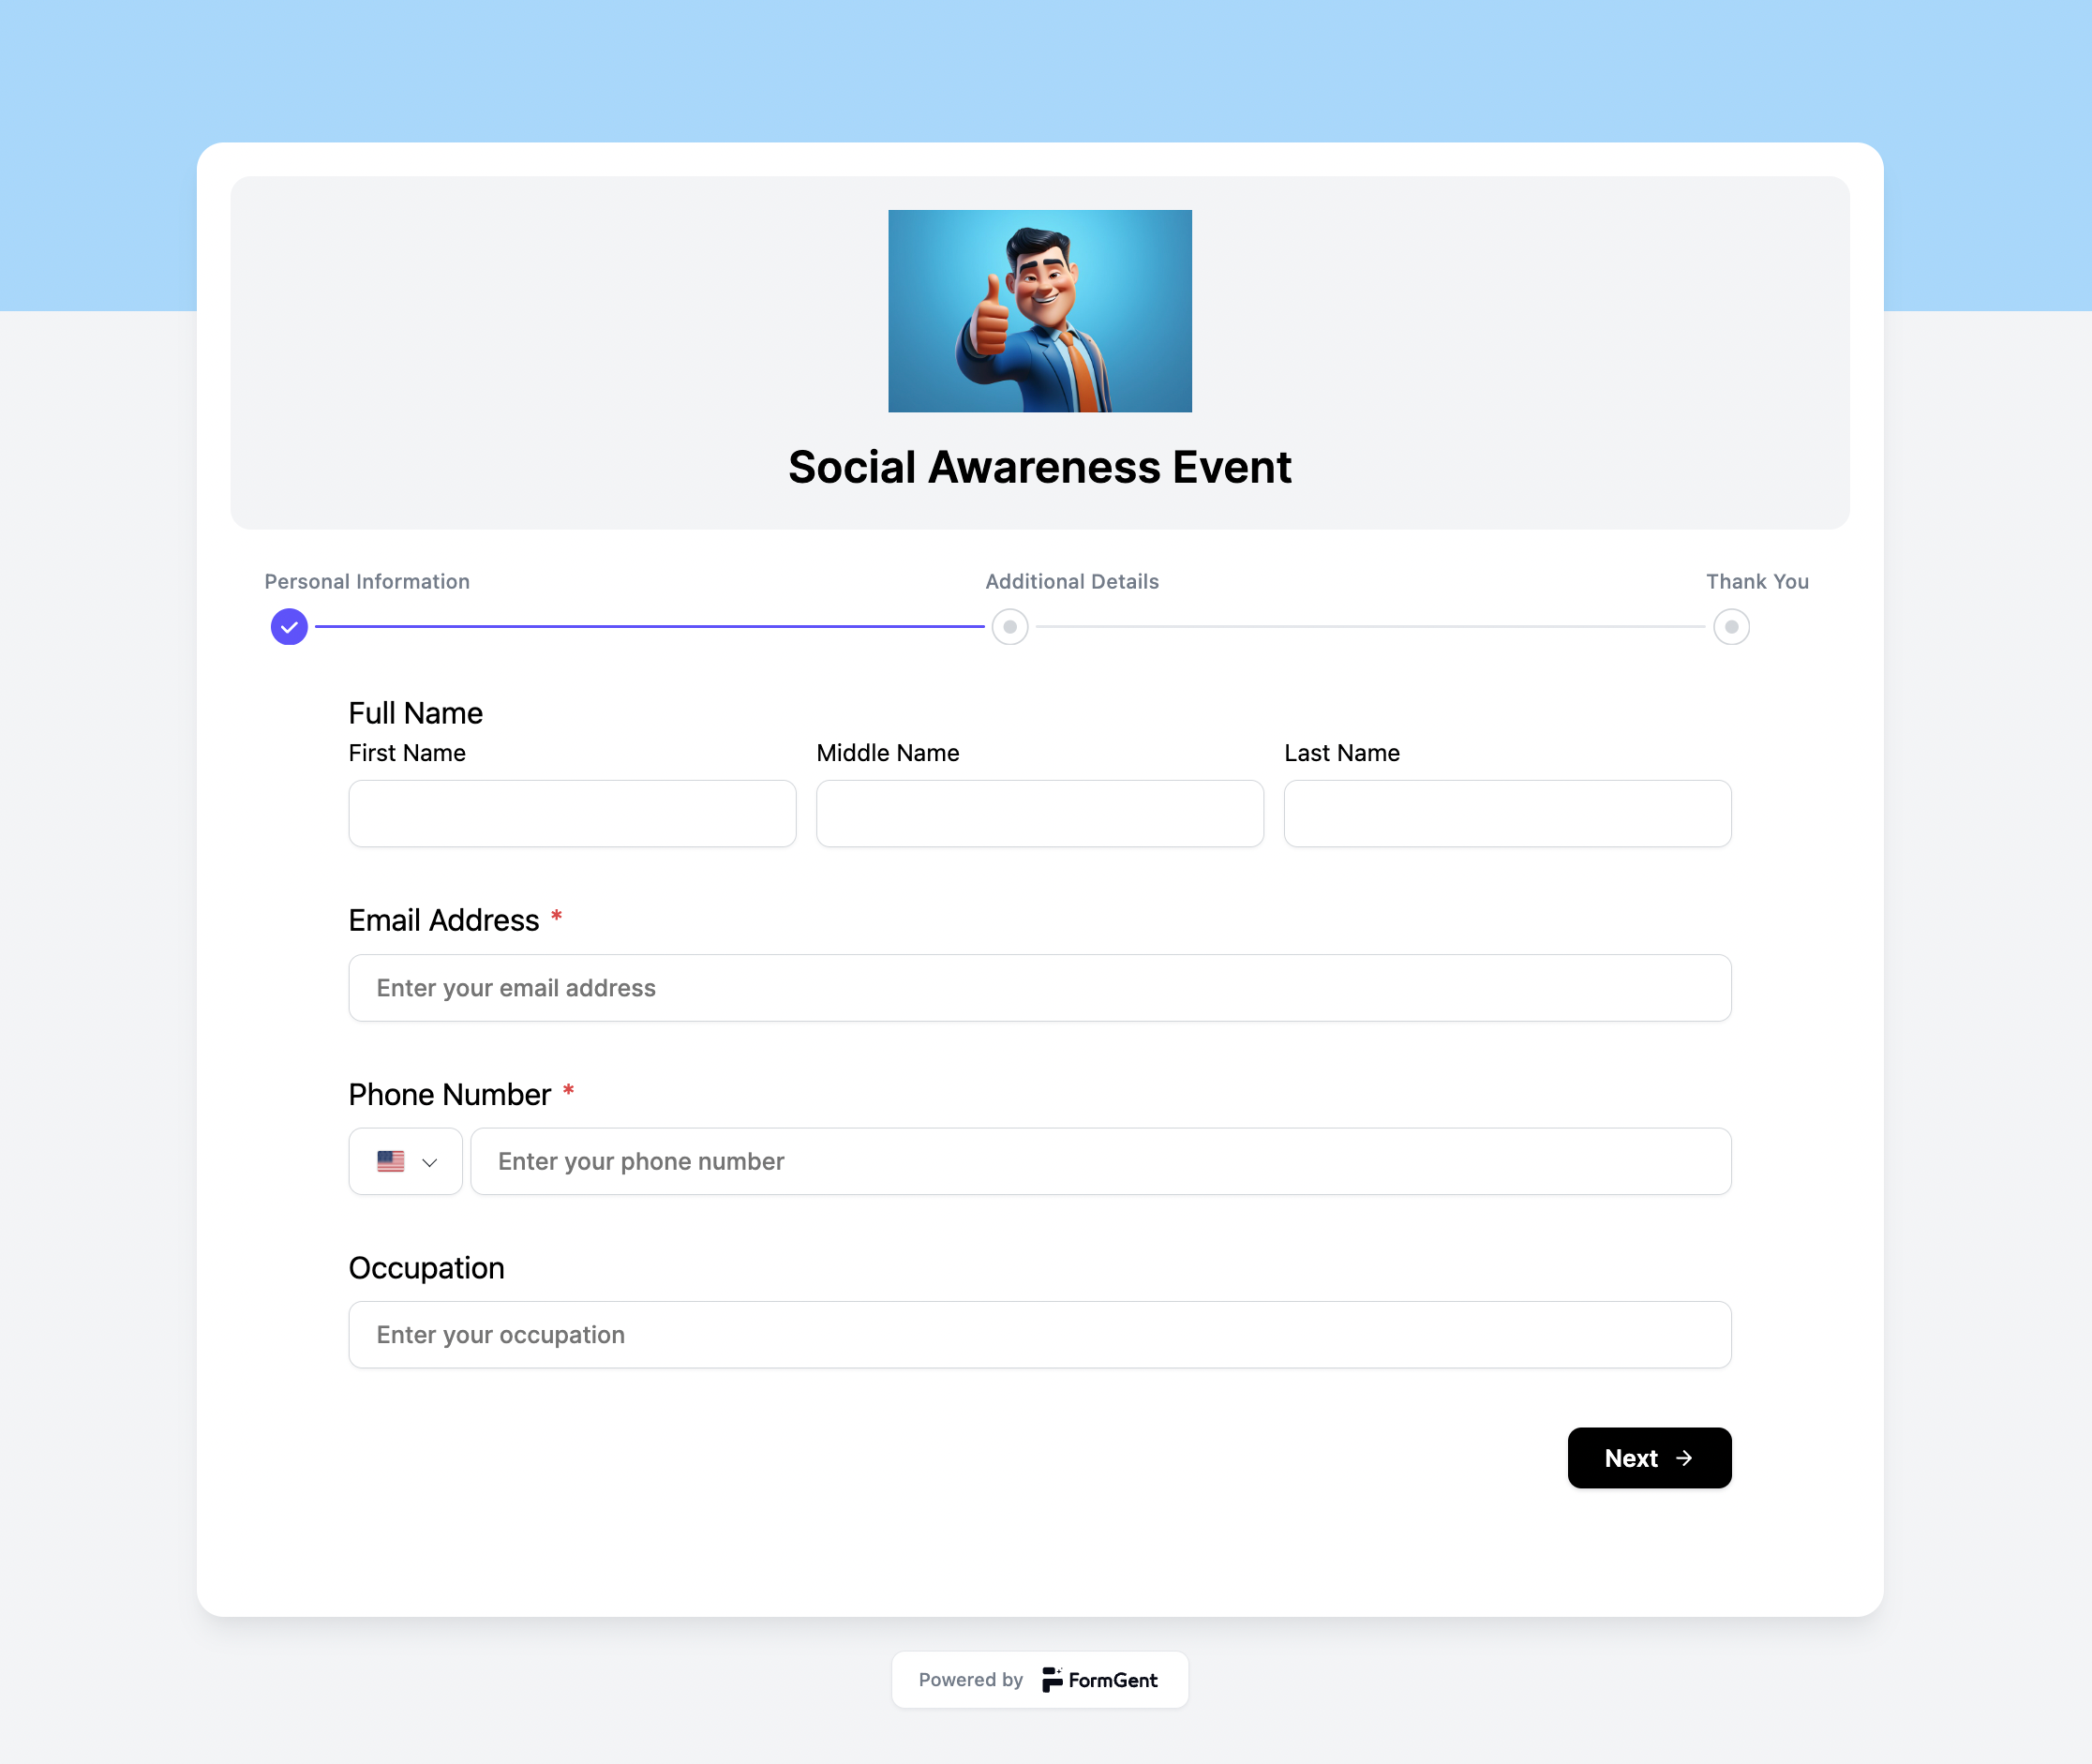
Once you’ve added all your Page Breaks and configured the settings, your form will display as a sleek, multi-step form. Users will navigate through steps seamlessly using Back and Next buttons.
Now, your form looks clean, organized, and easy to navigate! Start creating engaging forms that deliver a smooth experience for your users.


