
FormGent makes creating forms simple, efficient, and enjoyable with its intuitive interface and AI-powered options. Follow this guide to create your first form effortlessly.
Step 1: Access the FormGent Dashboard #
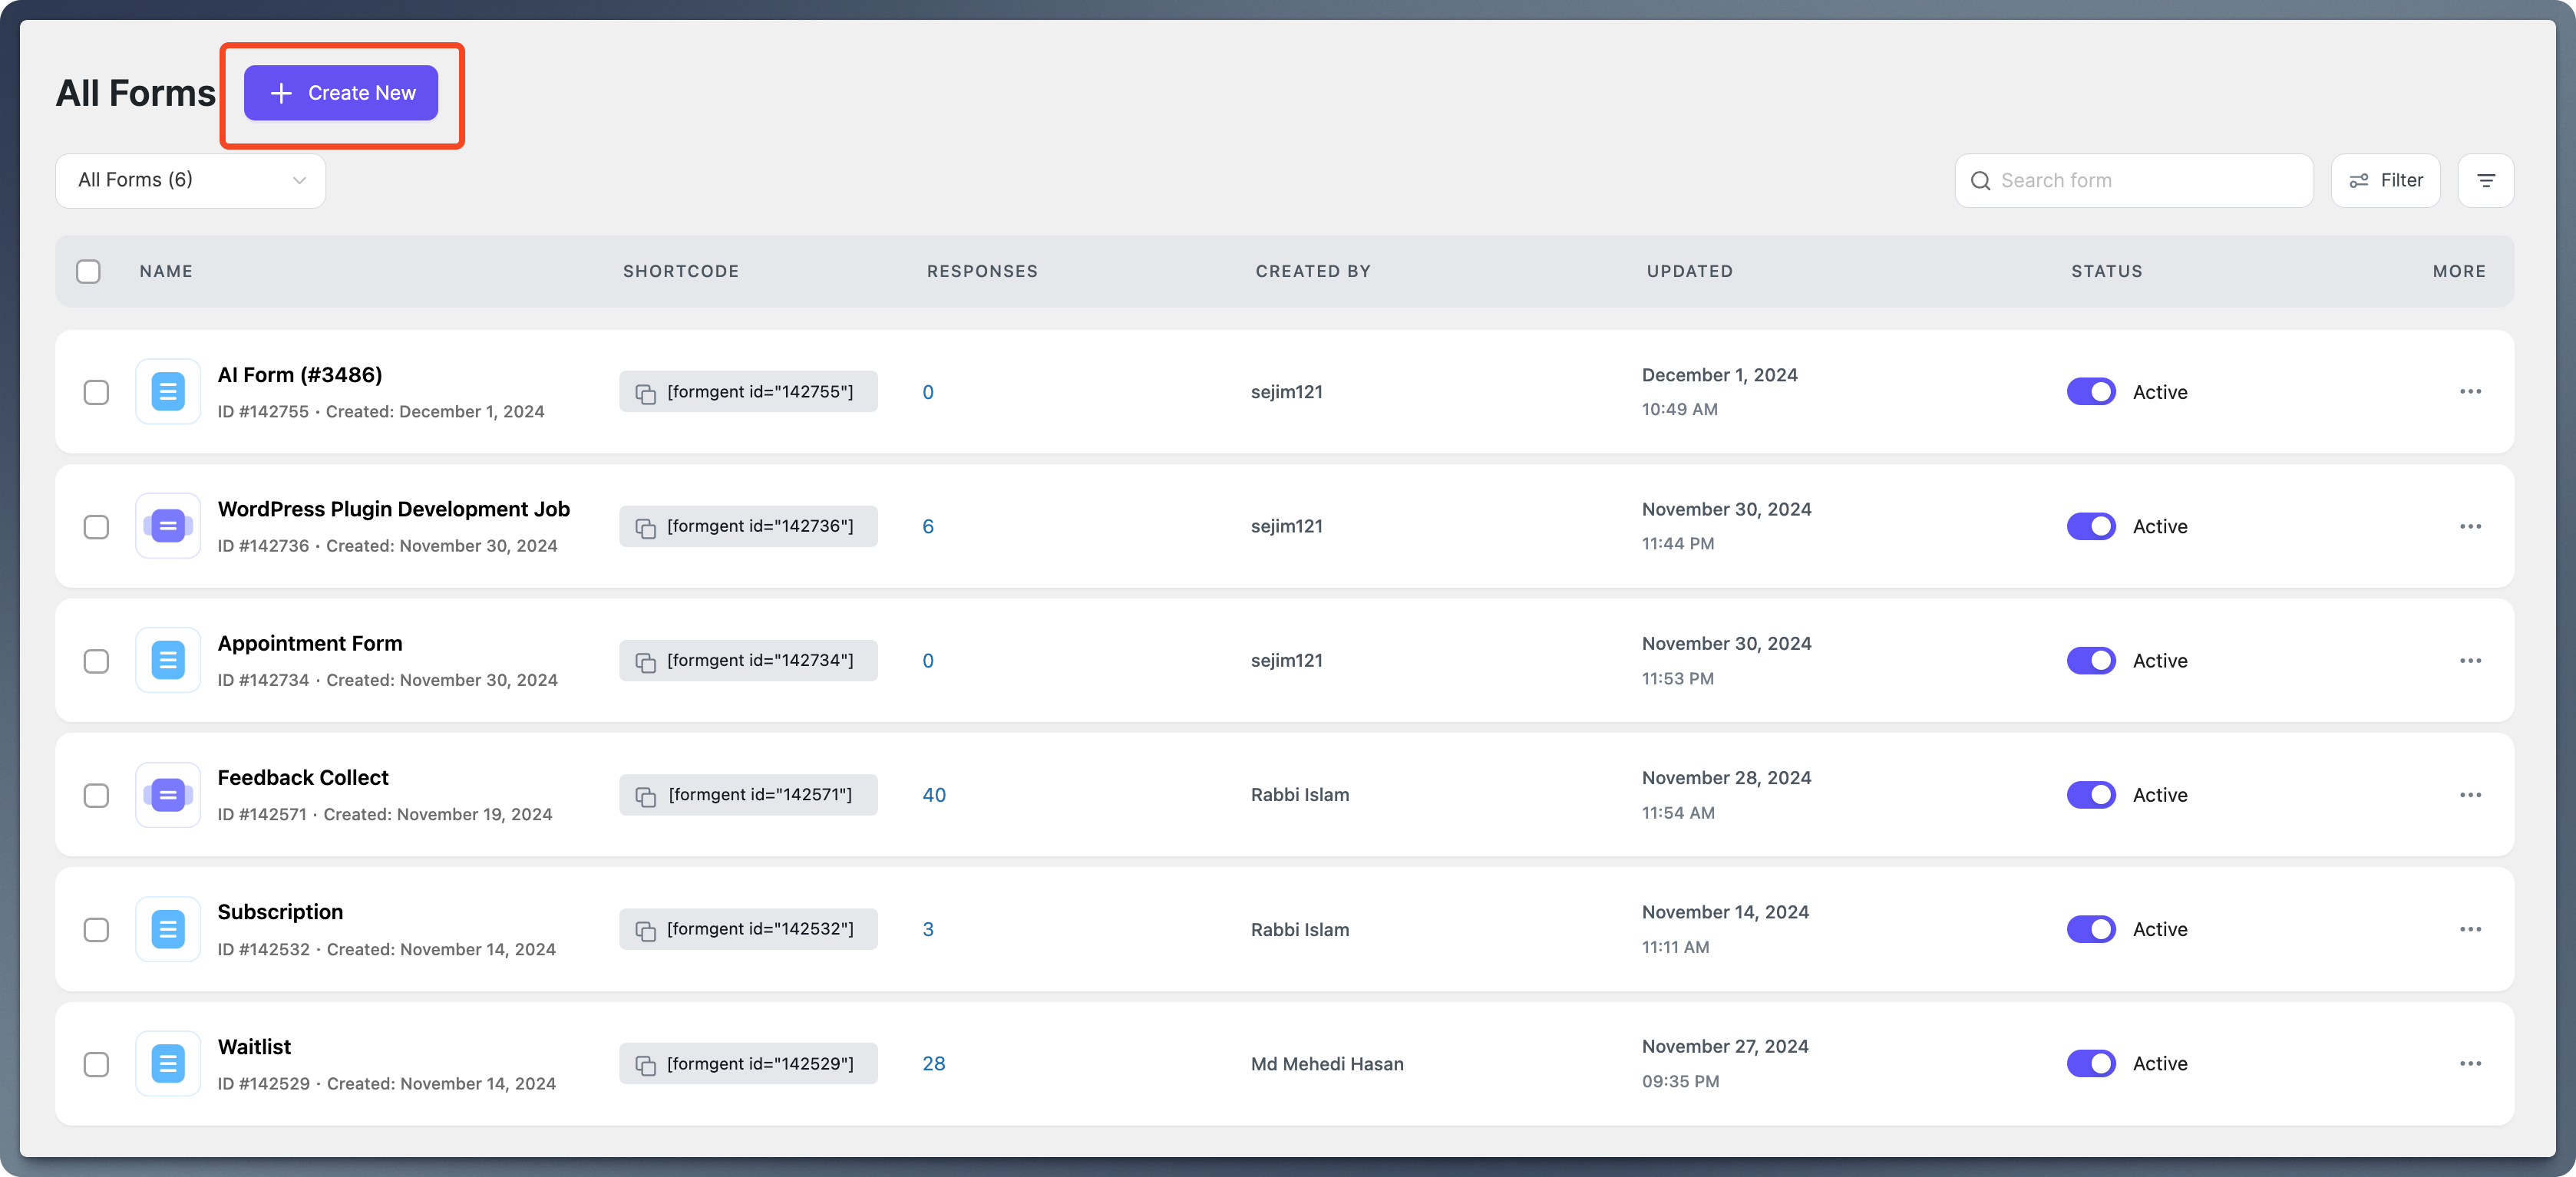
- Login to WordPress: Go to your WordPress Admin Dashboard.
- Navigate to FormGent: Click on FormGent → All Forms from the menu on the left.
- Create a New Form: Click the Create New button at the top to begin.
Step 2: Choose How to Build Your Form #
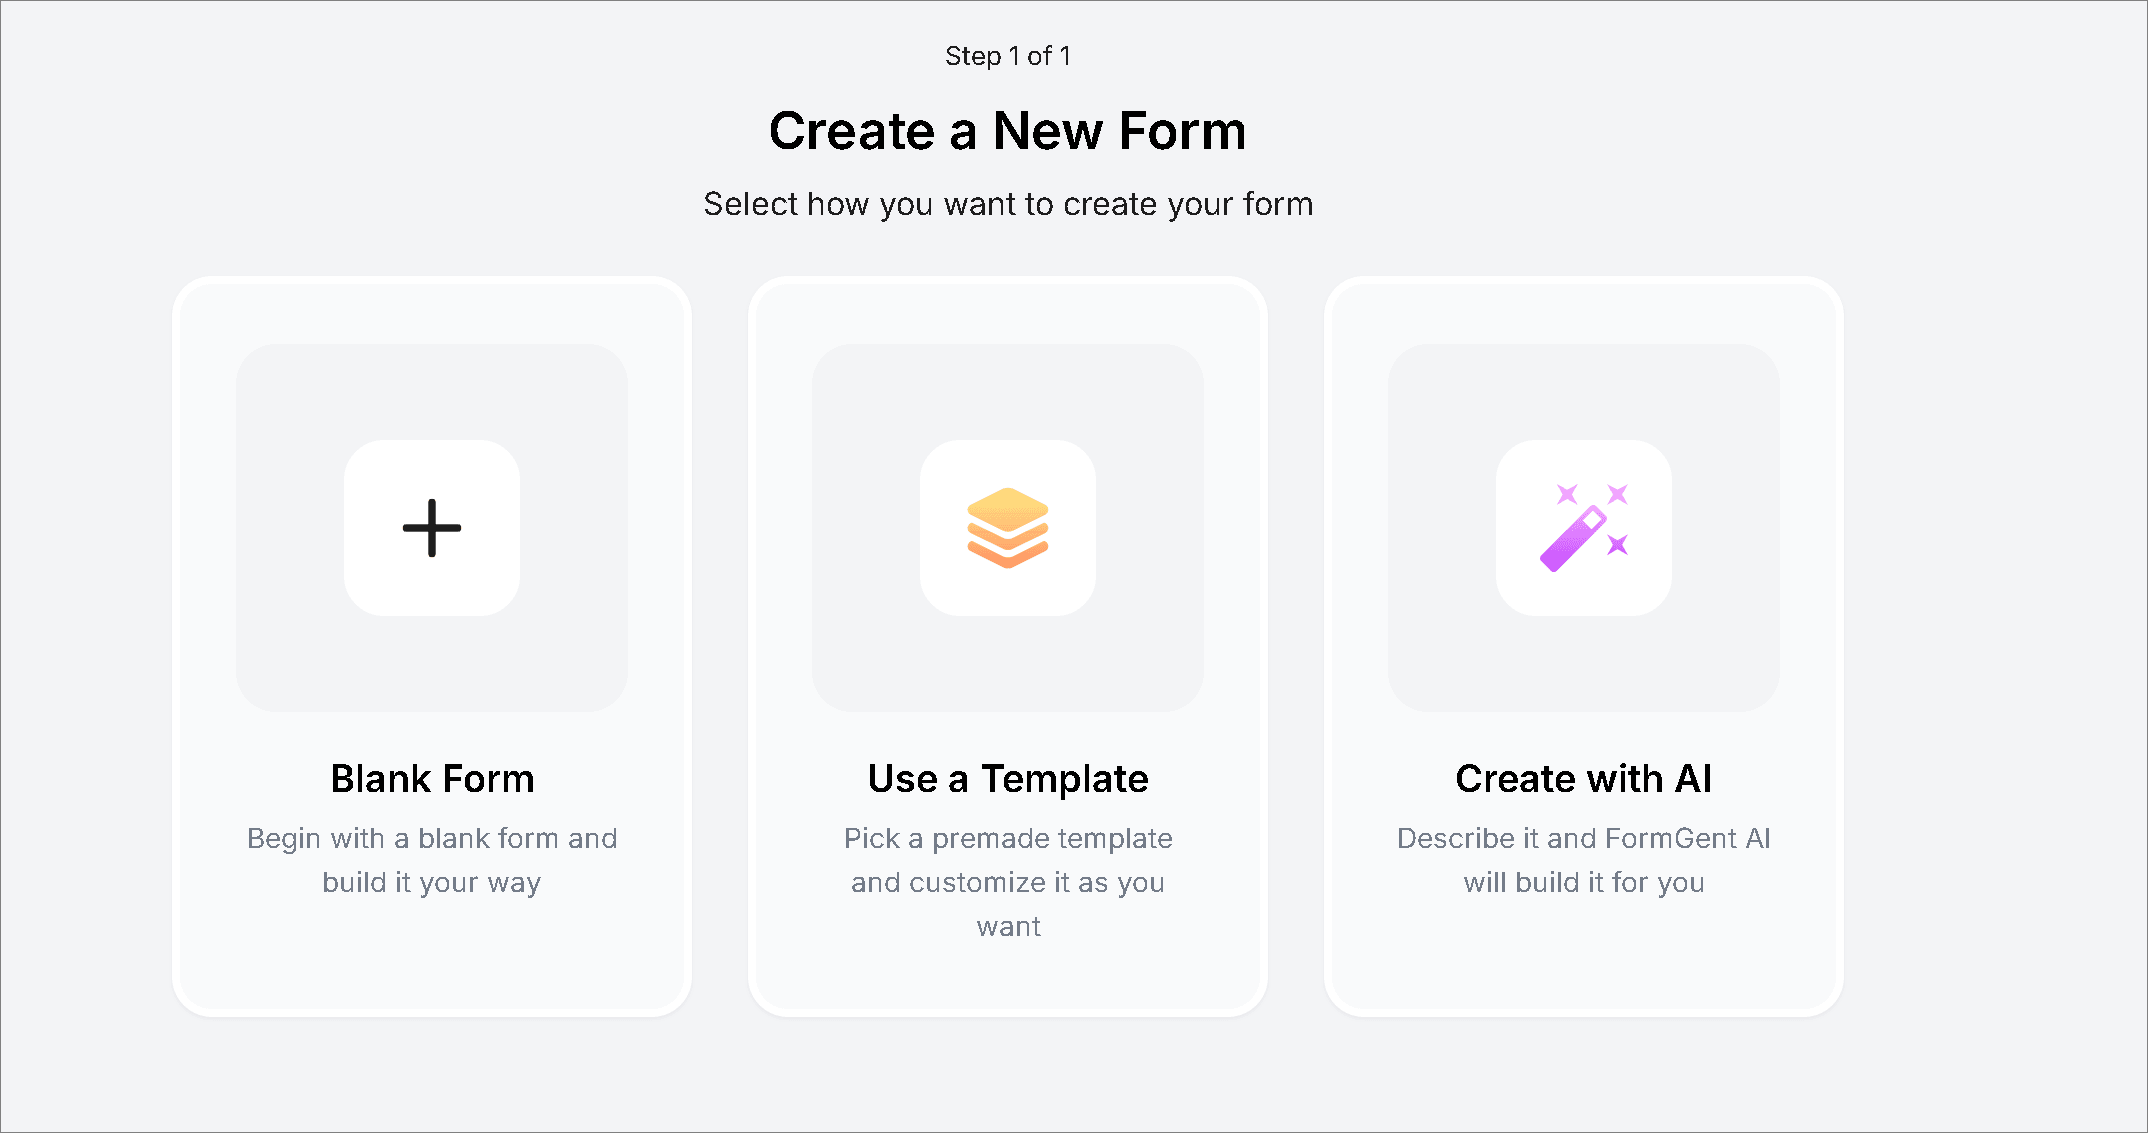
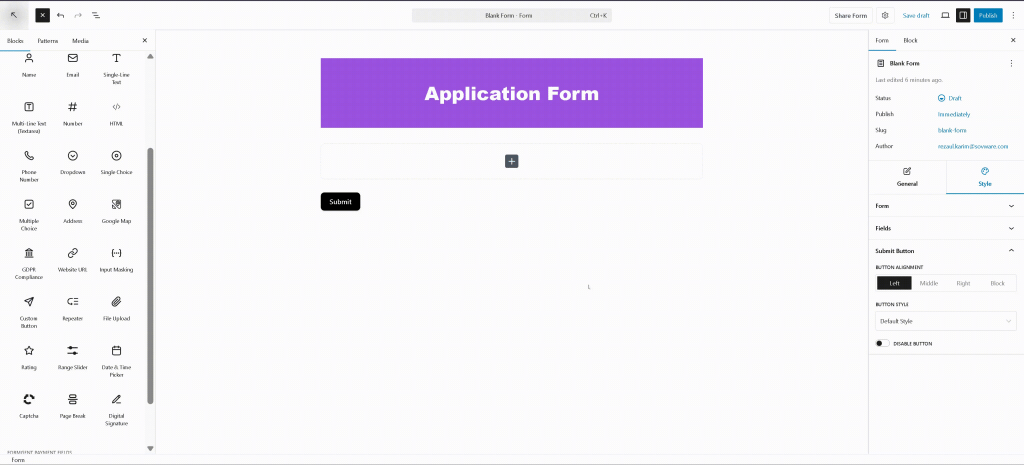
1. Blank Form: Select this if you prefer a blank canvas to design your form manually.
2. Use a Template: Choose a template from the template gallery and customize it.
3. Create with AI: Let FormGent AI generate a form based on your description.
For example: Type “Create a job application form,” and FormGent AI will handle the rest.
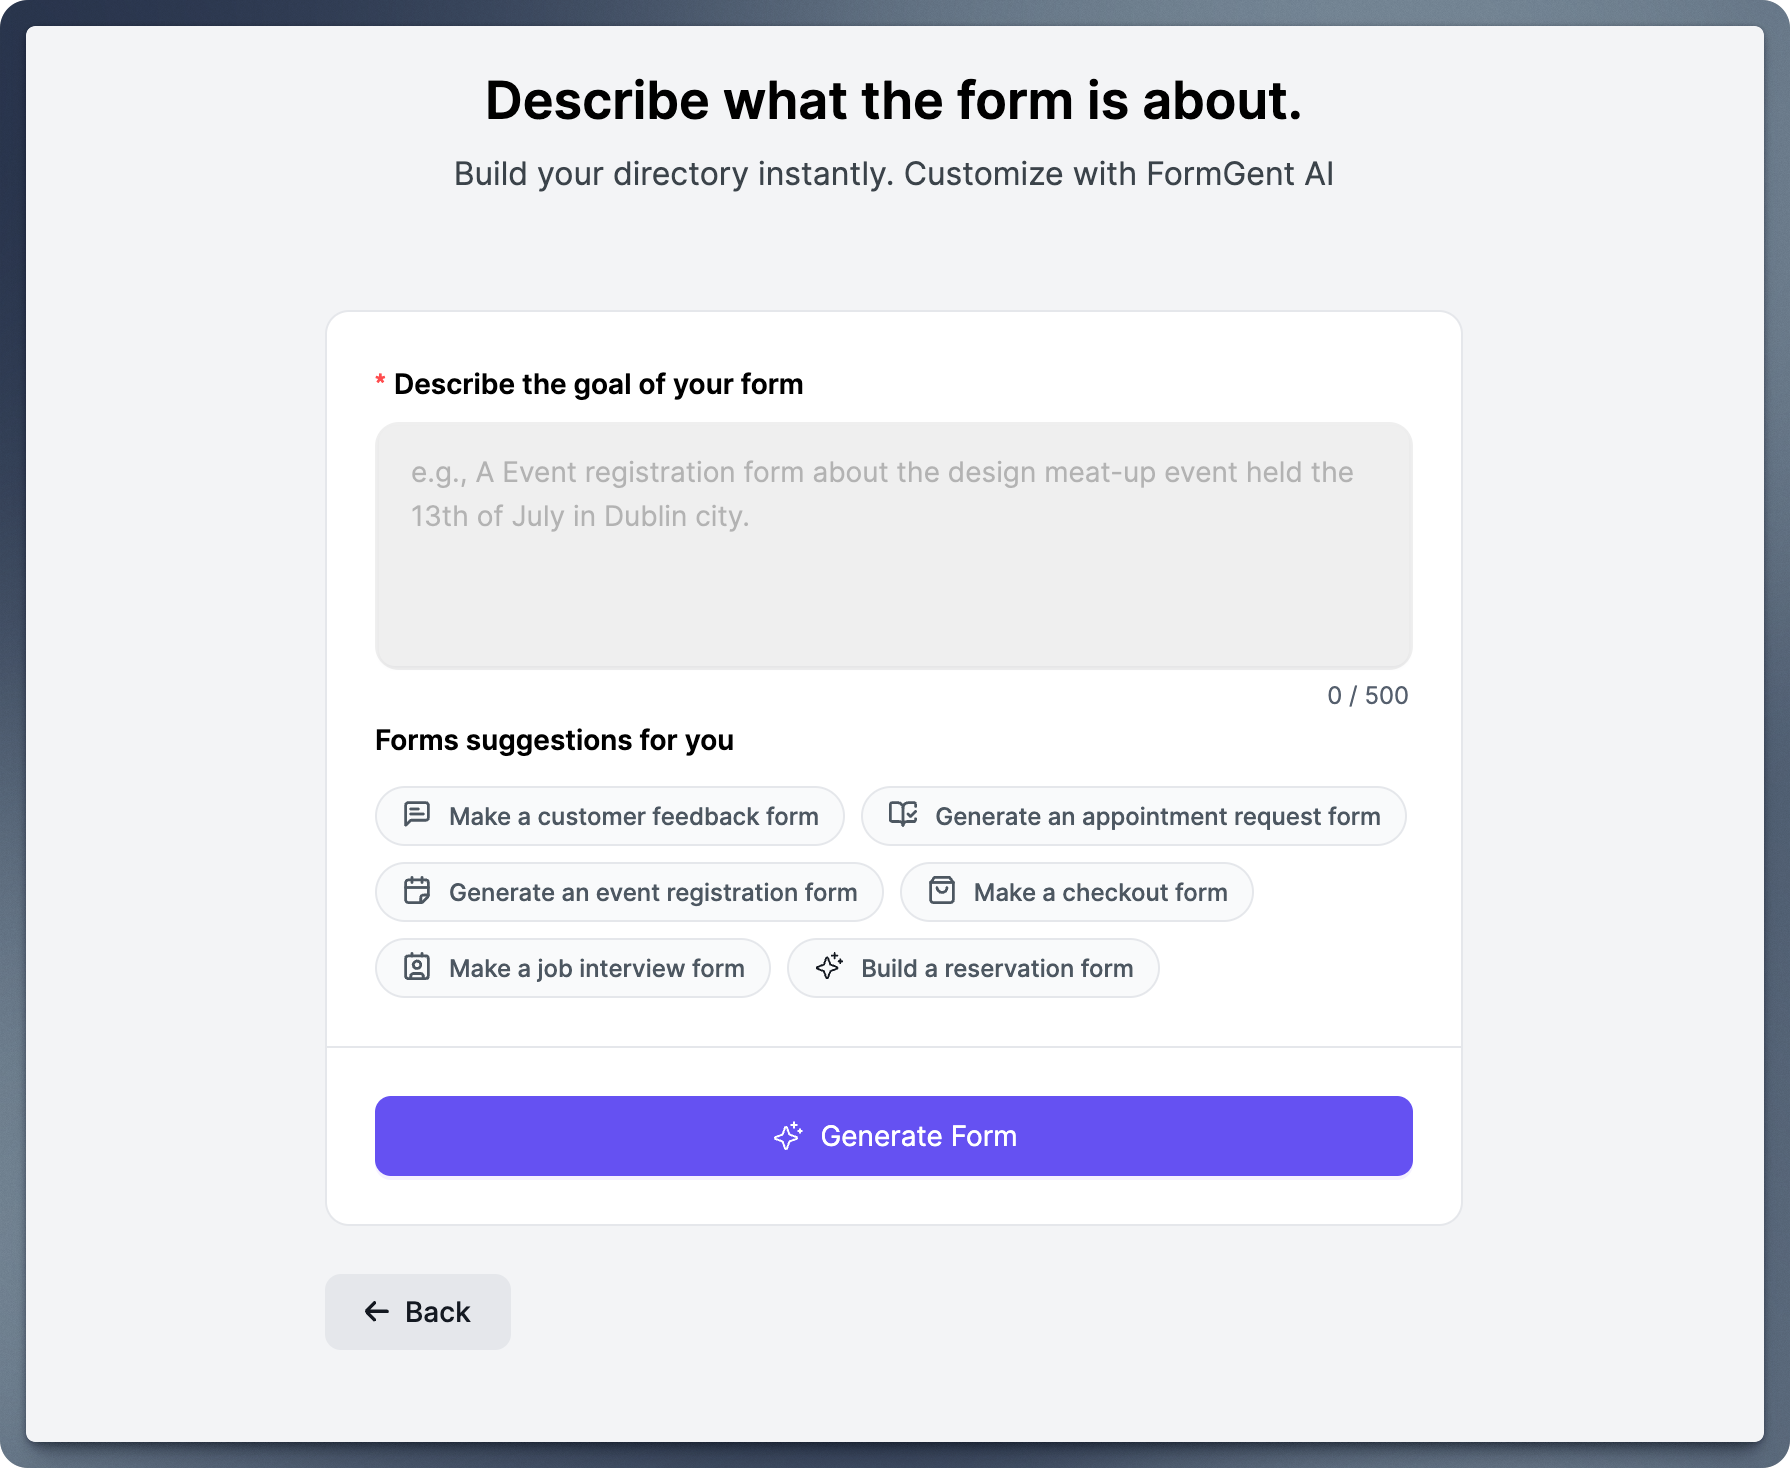
- Describe Your Form’s Purpose (if using AI): Provide a brief description of the form’s goal (e.g., “Collect feedback from workshop participants”).
- Generate Form: FormGent AI will create a tailored form based on your input, saving time and effort.
Step 3: Customize Your Form Fields #
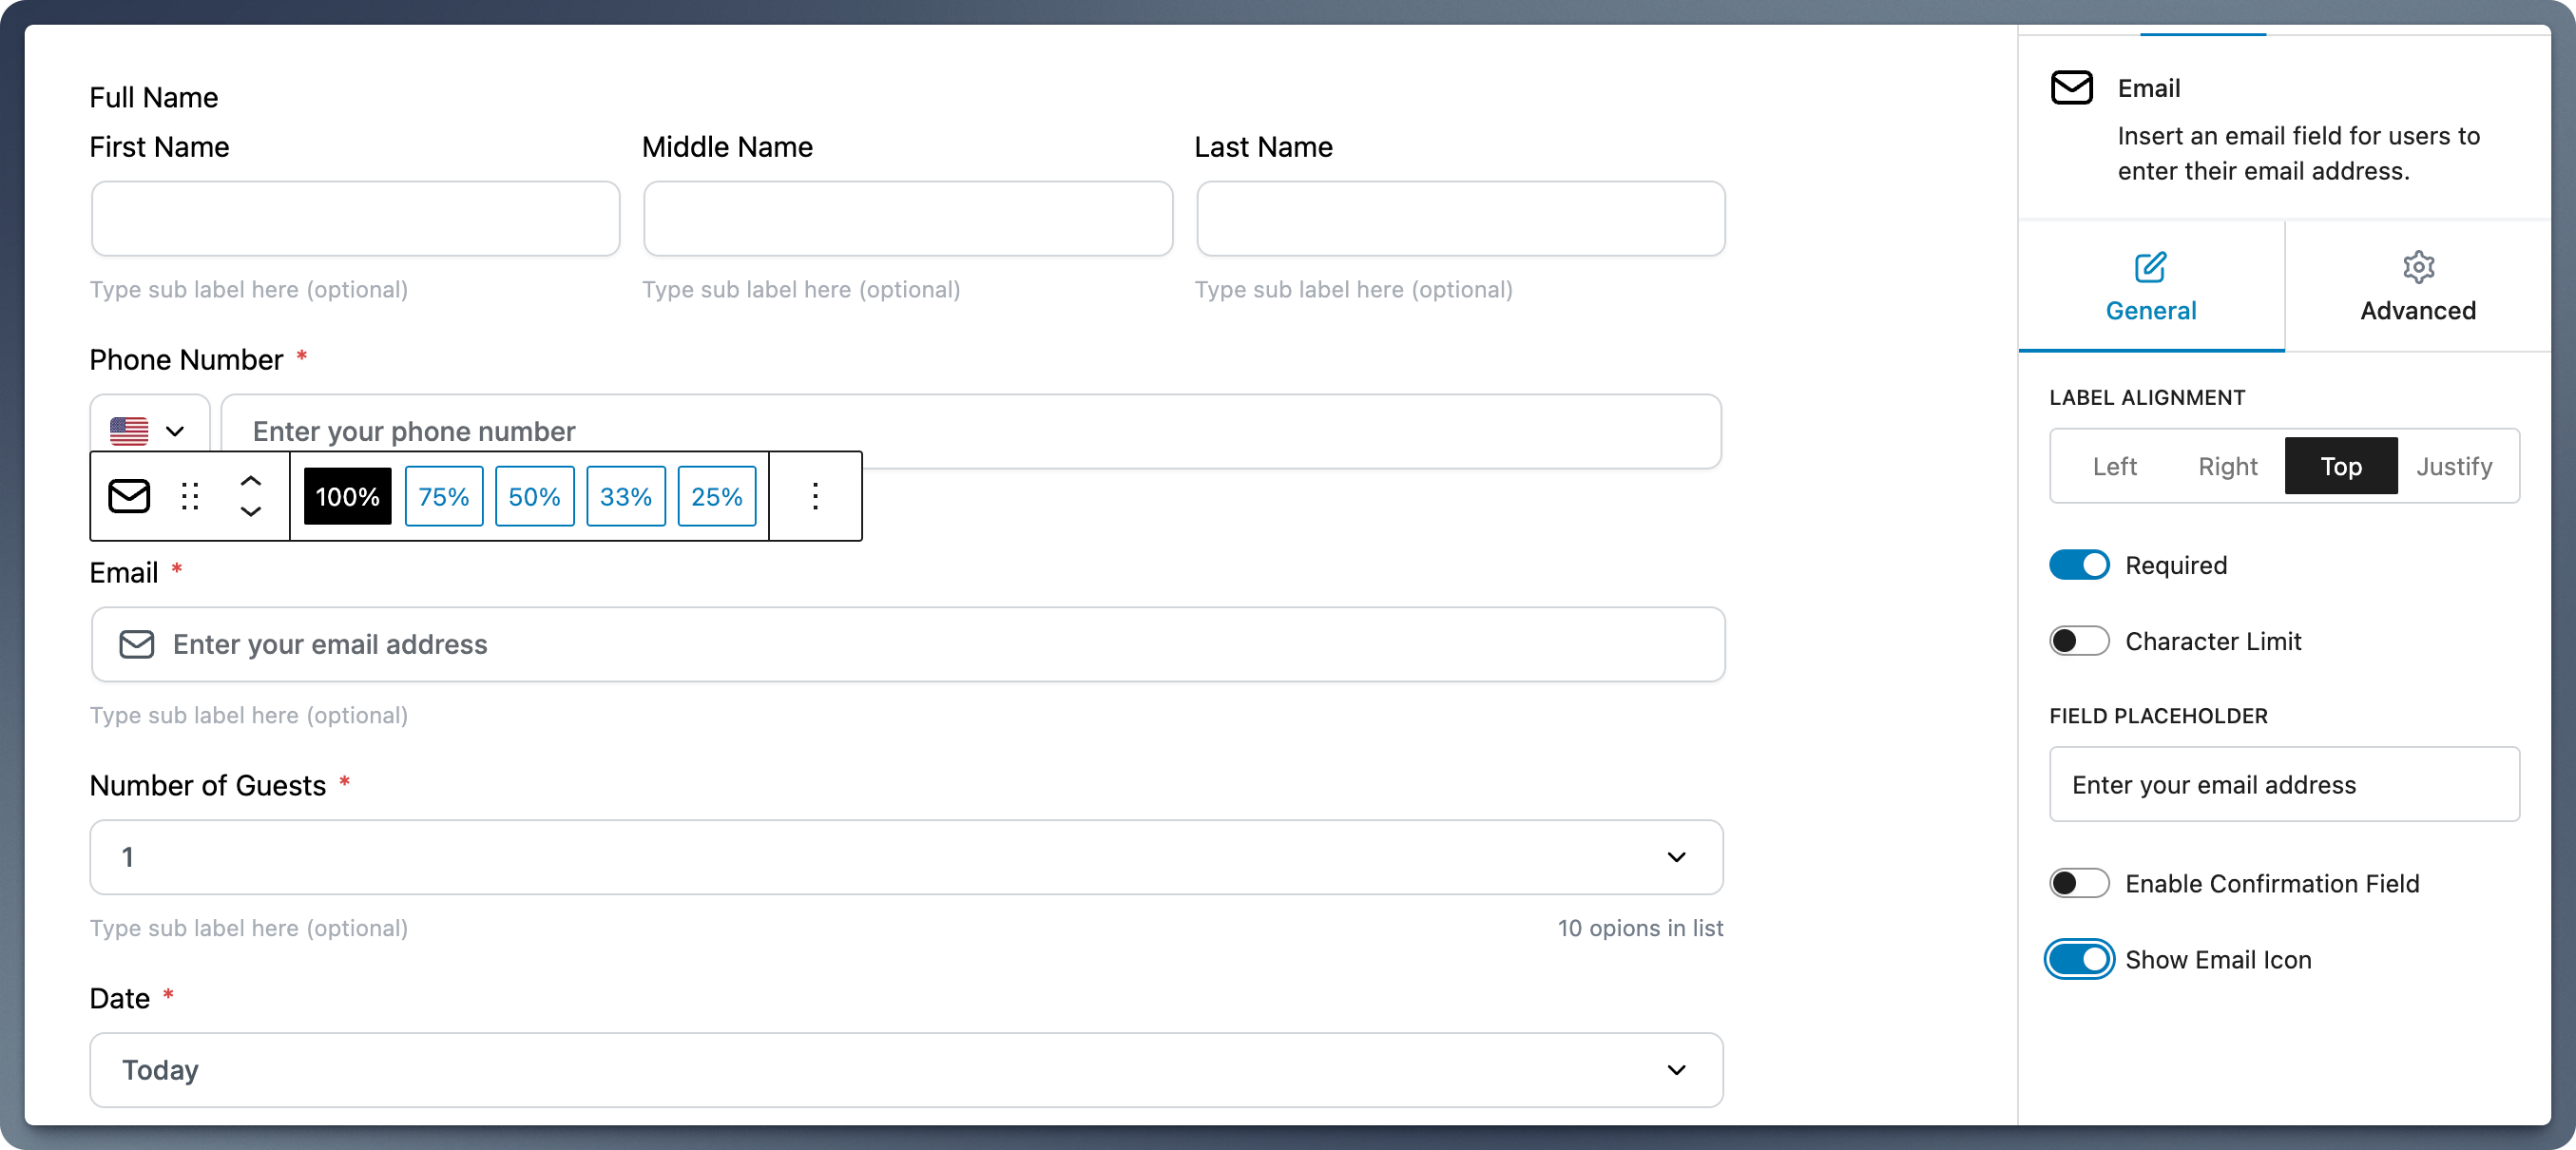
- Add/Remove Fields: Drag and drop from the field menu on the right. Options include Text, Email, Dropdown, Multiple Choice, Phone Number, and more.
- Customize Each Field: Set labels, placeholders, and validation rules.
Step 4: Rename your form #
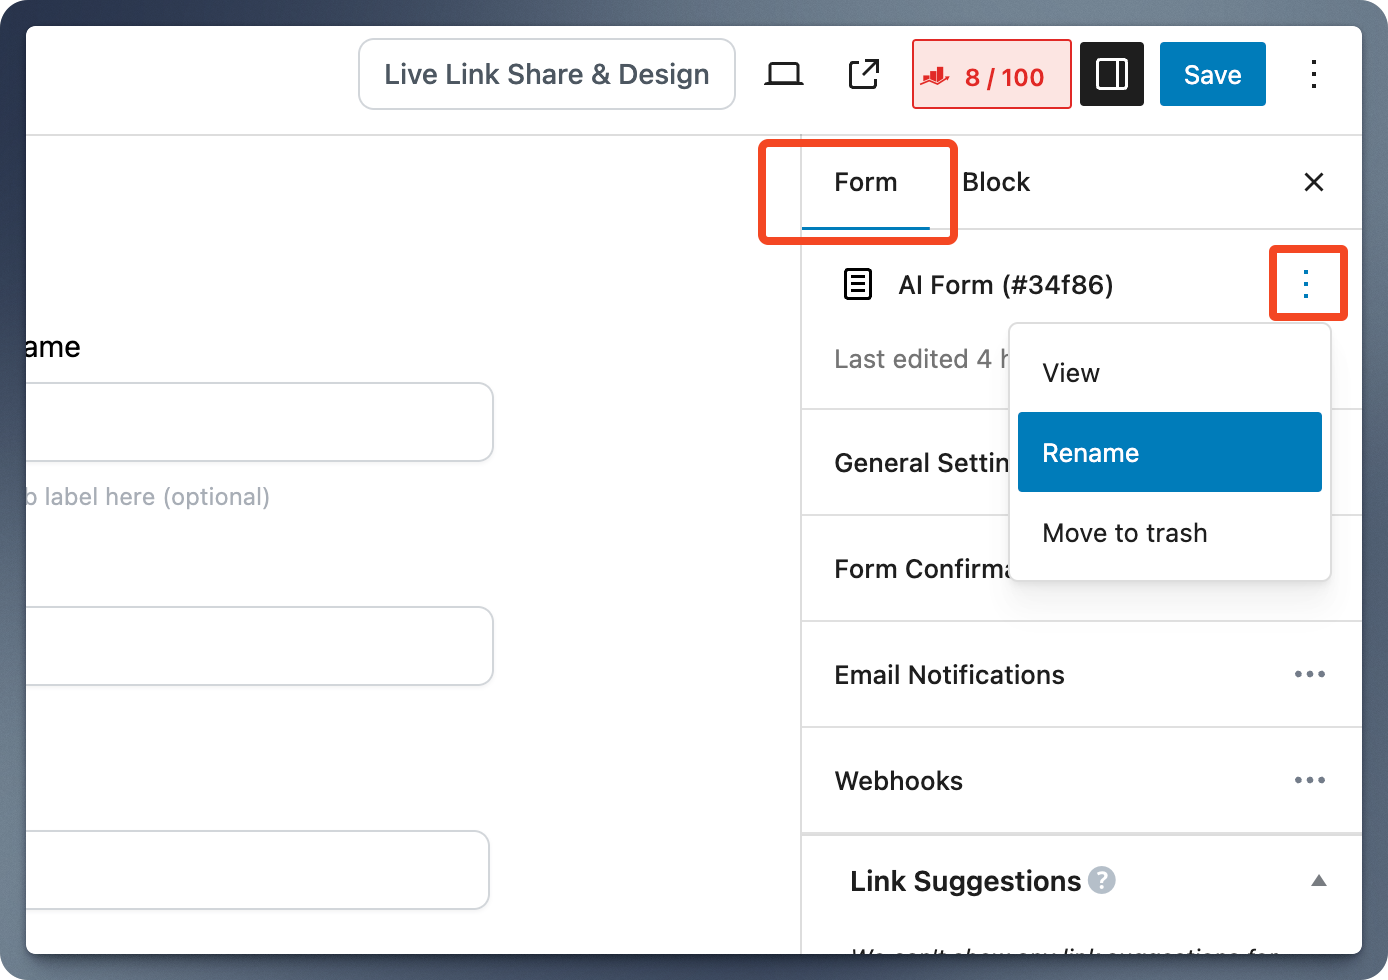
- Go to the Form option on the right-hand side of your screen.
- Click on the three dots menu beside the form name.
- Select Rename from the dropdown menu.
- Enter a new, meaningful name for your form (e.g., “Customer Feedback Form”).
- Click Save.
Step 5: Configure Form Settings #
In the FormGent editor, you’ll find essential form settings under the Form Options tab.
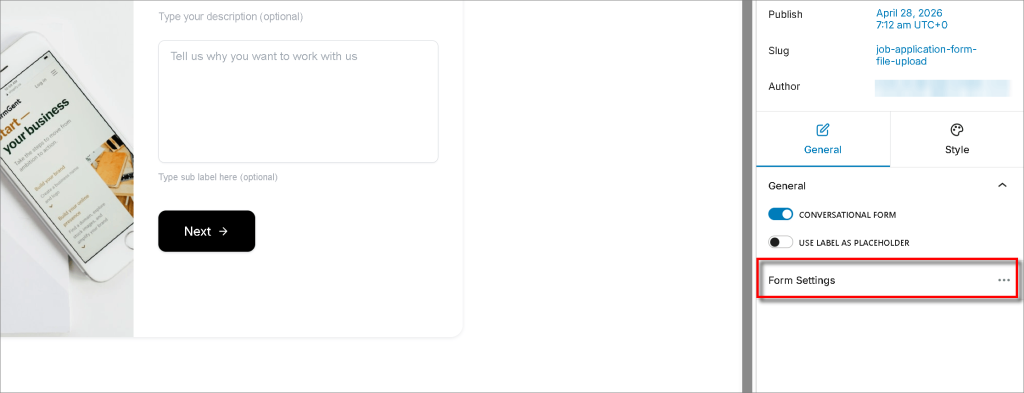
General Settings
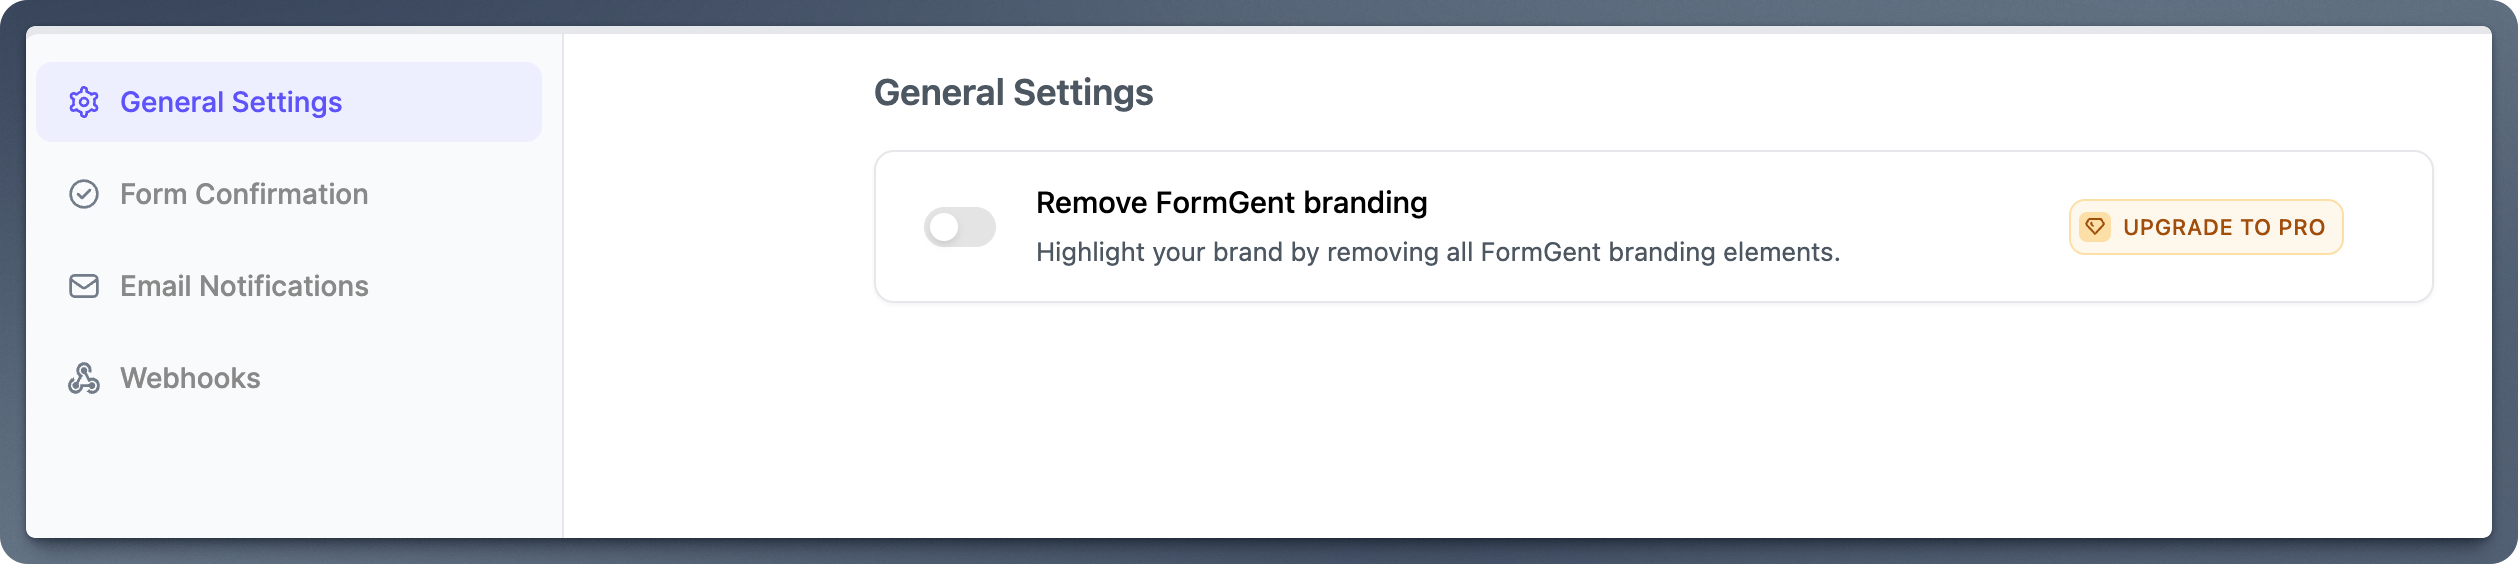
Option: Remove FormGent Branding (Pro Feature)
Adjust form settings by enabling or disabling FormGent-specific branding.
Form Confirmation #
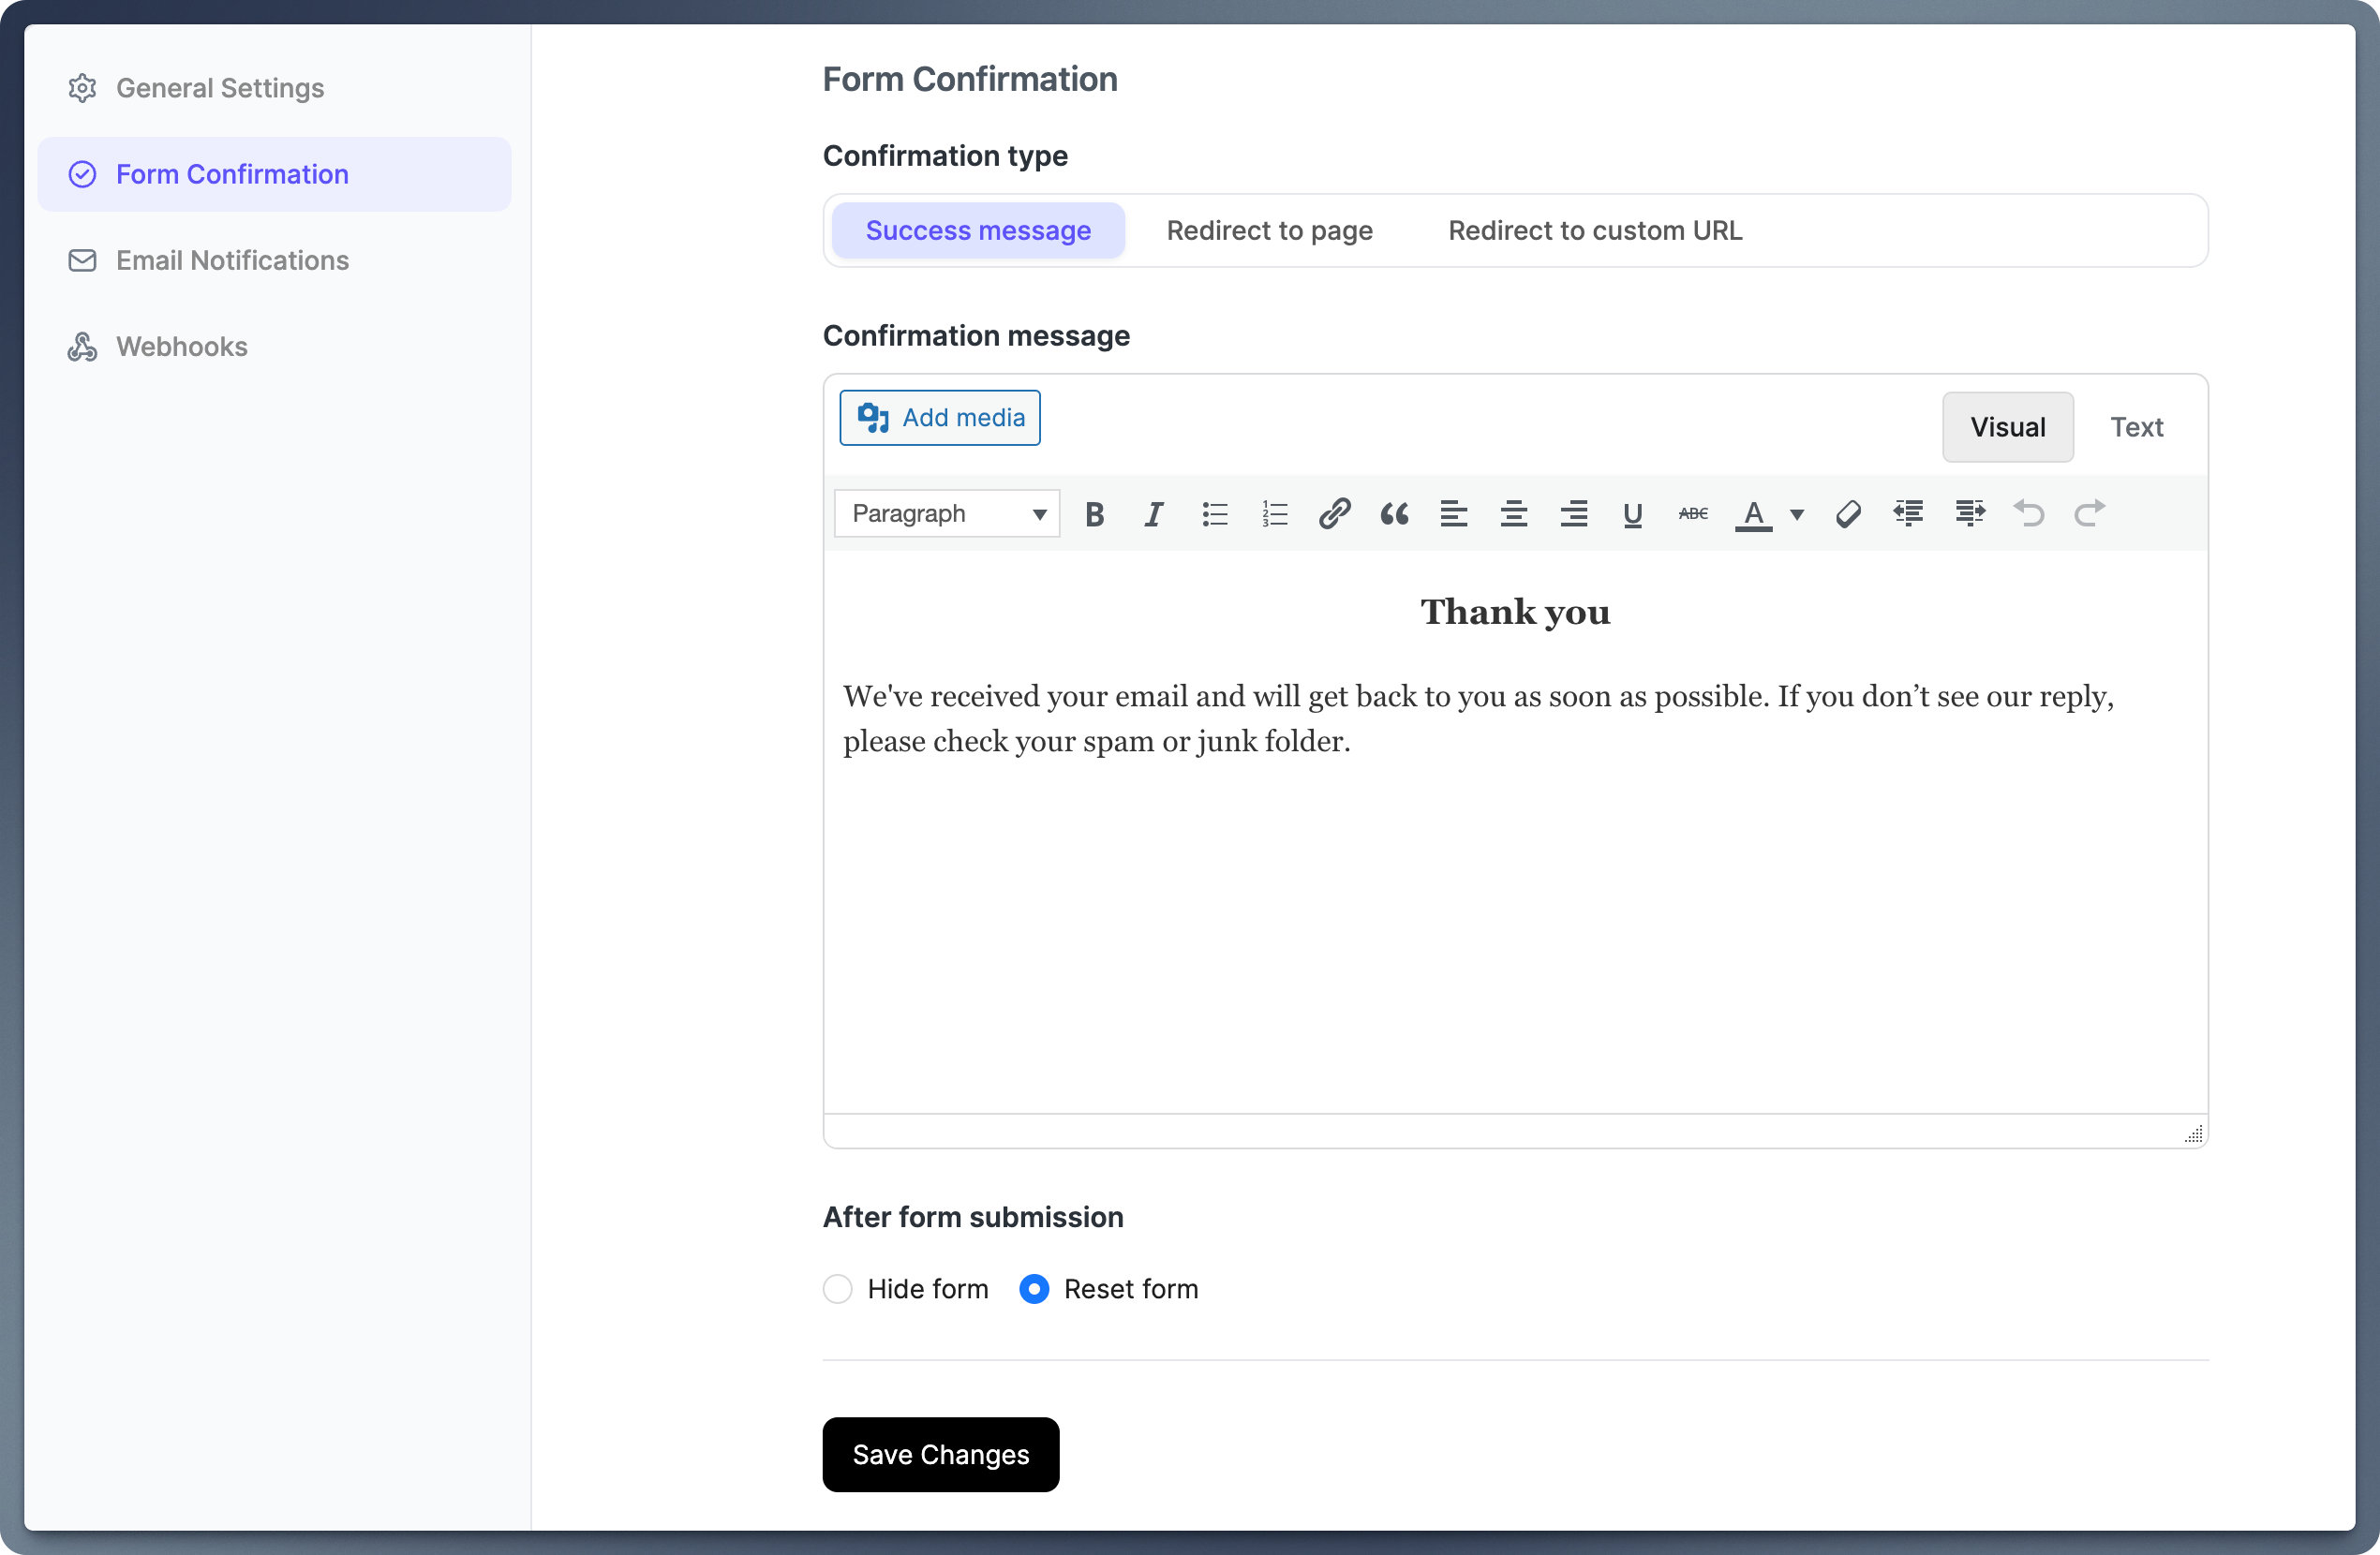
Option: Confirmation Type
Choose how users are notified after submission:
- Success Message: Display a custom message.
- Redirect to Page: Send users to a specific internal page.
- Redirect to Custom URL: Direct users to an external link.
Conditional Confirmation (PRO) #
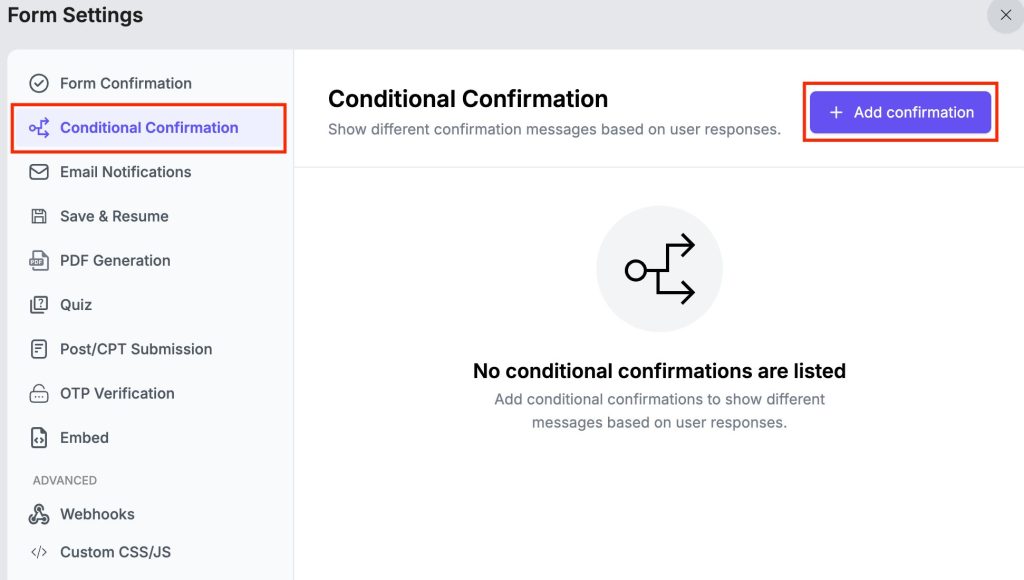
Show different confirmation messages based on user responses.
Email Notifications #

Option: Admin Notification Emails
Enable notifications to alert admins when a user submits a form. Customize the email subject, recipient, and content for personalized updates.
Save & Resume (PRO) #
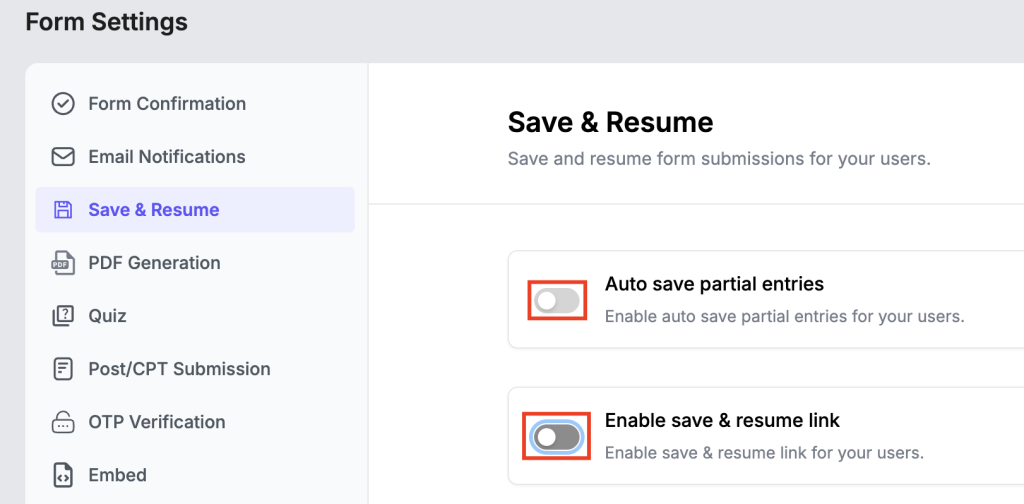
Save and resume form submissions for your users
PDF Generation #
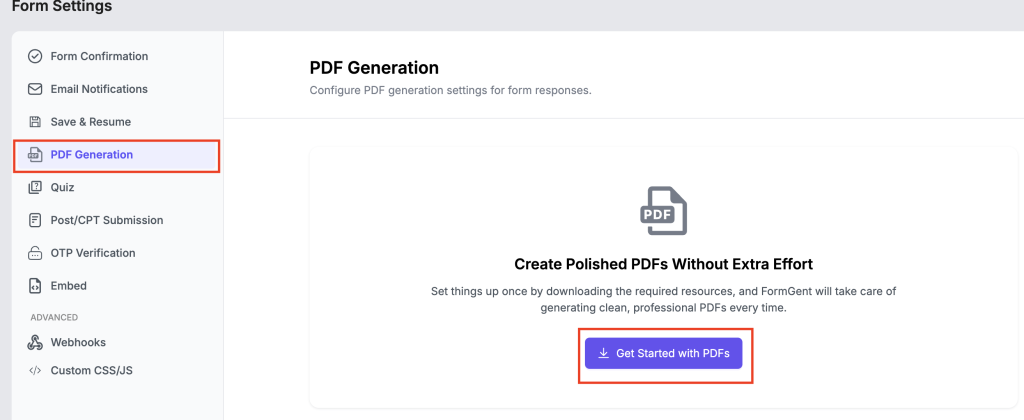
Generate PDFs report from your form response.
Quiz #
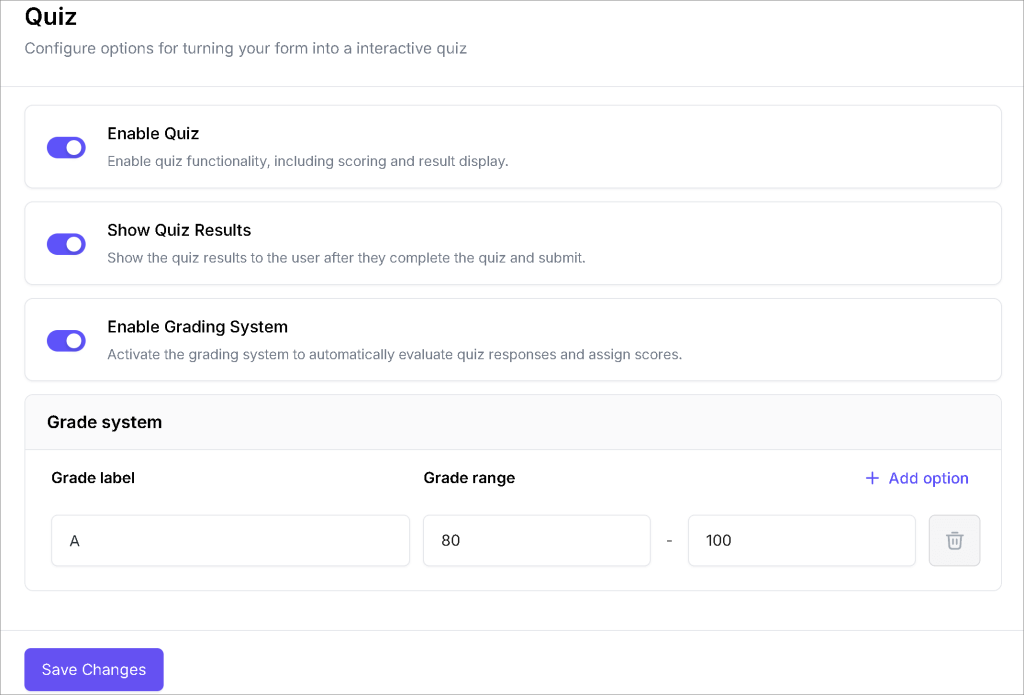
Turn your form into an interactive quiz.
Post/CPT Submission (PRO) #
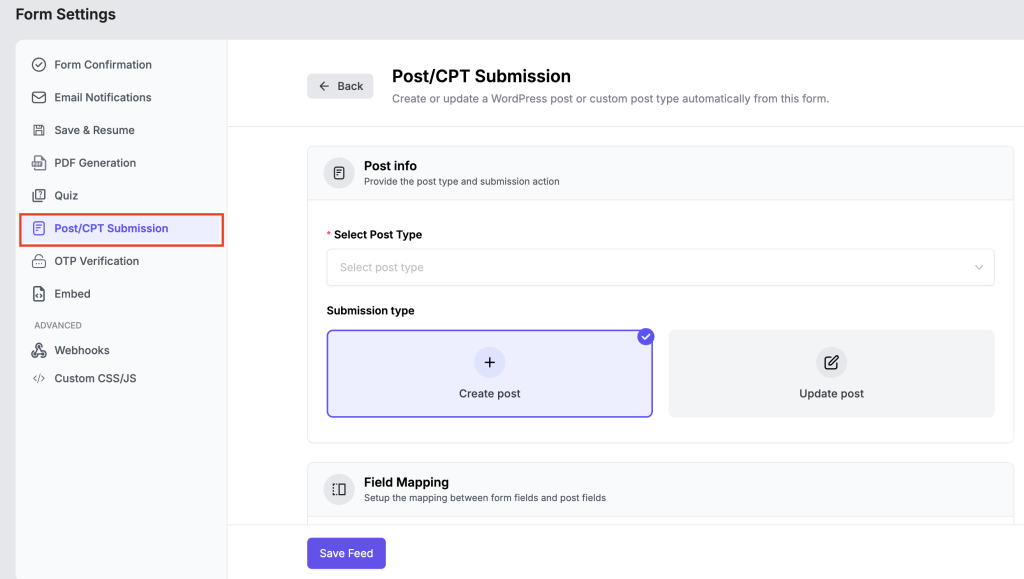
With Post/ CPT Submission, you can create or update a WordPress post or custom post type automatically from the form.
OTP Verification #
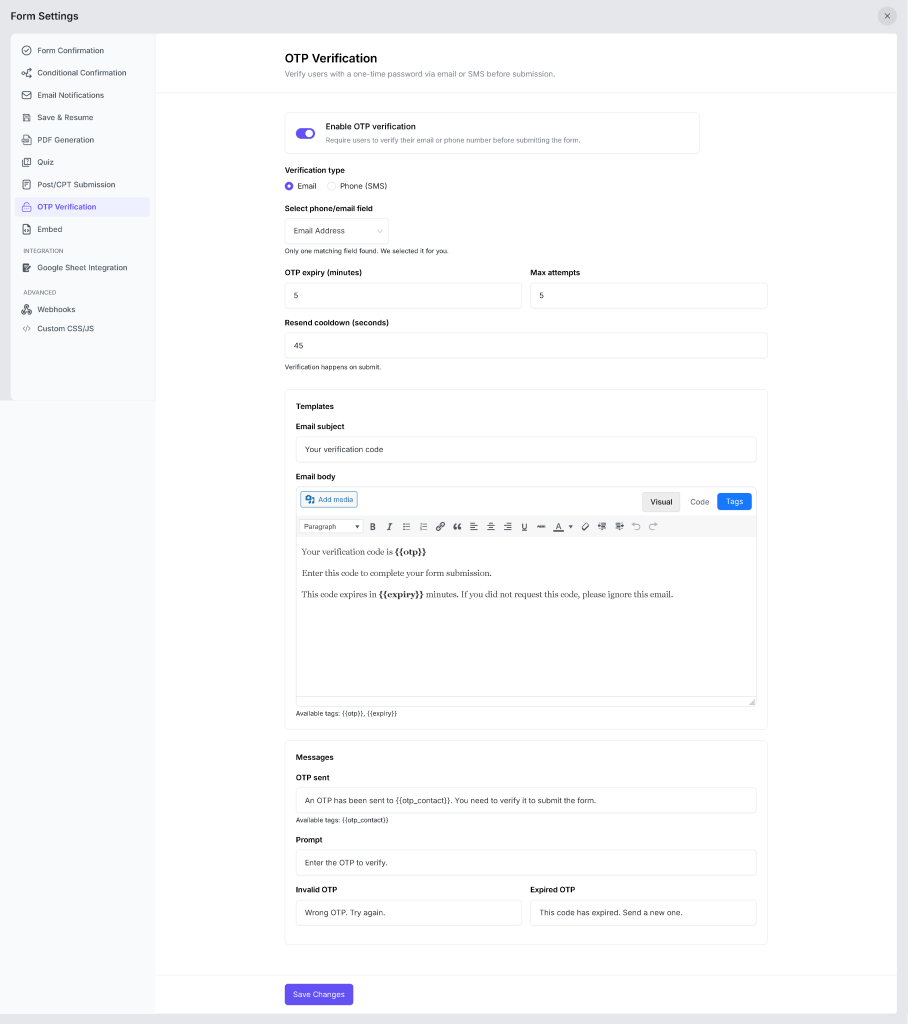
Verify real users with OTP verification.
Embed #
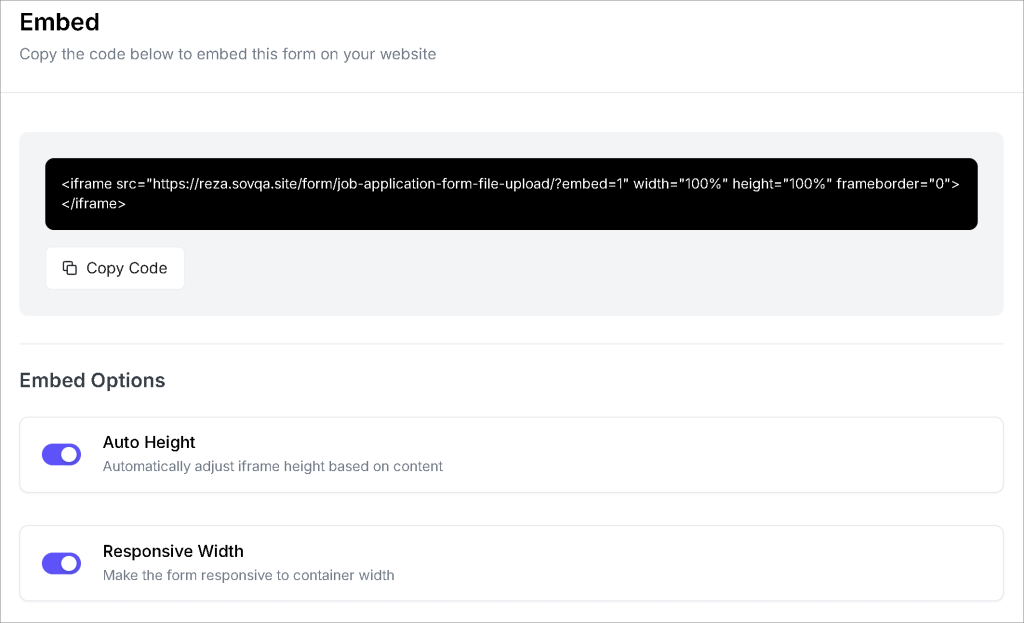
Display form on anywhere of your website through embed code.
Webhooks (Pro Feature) #
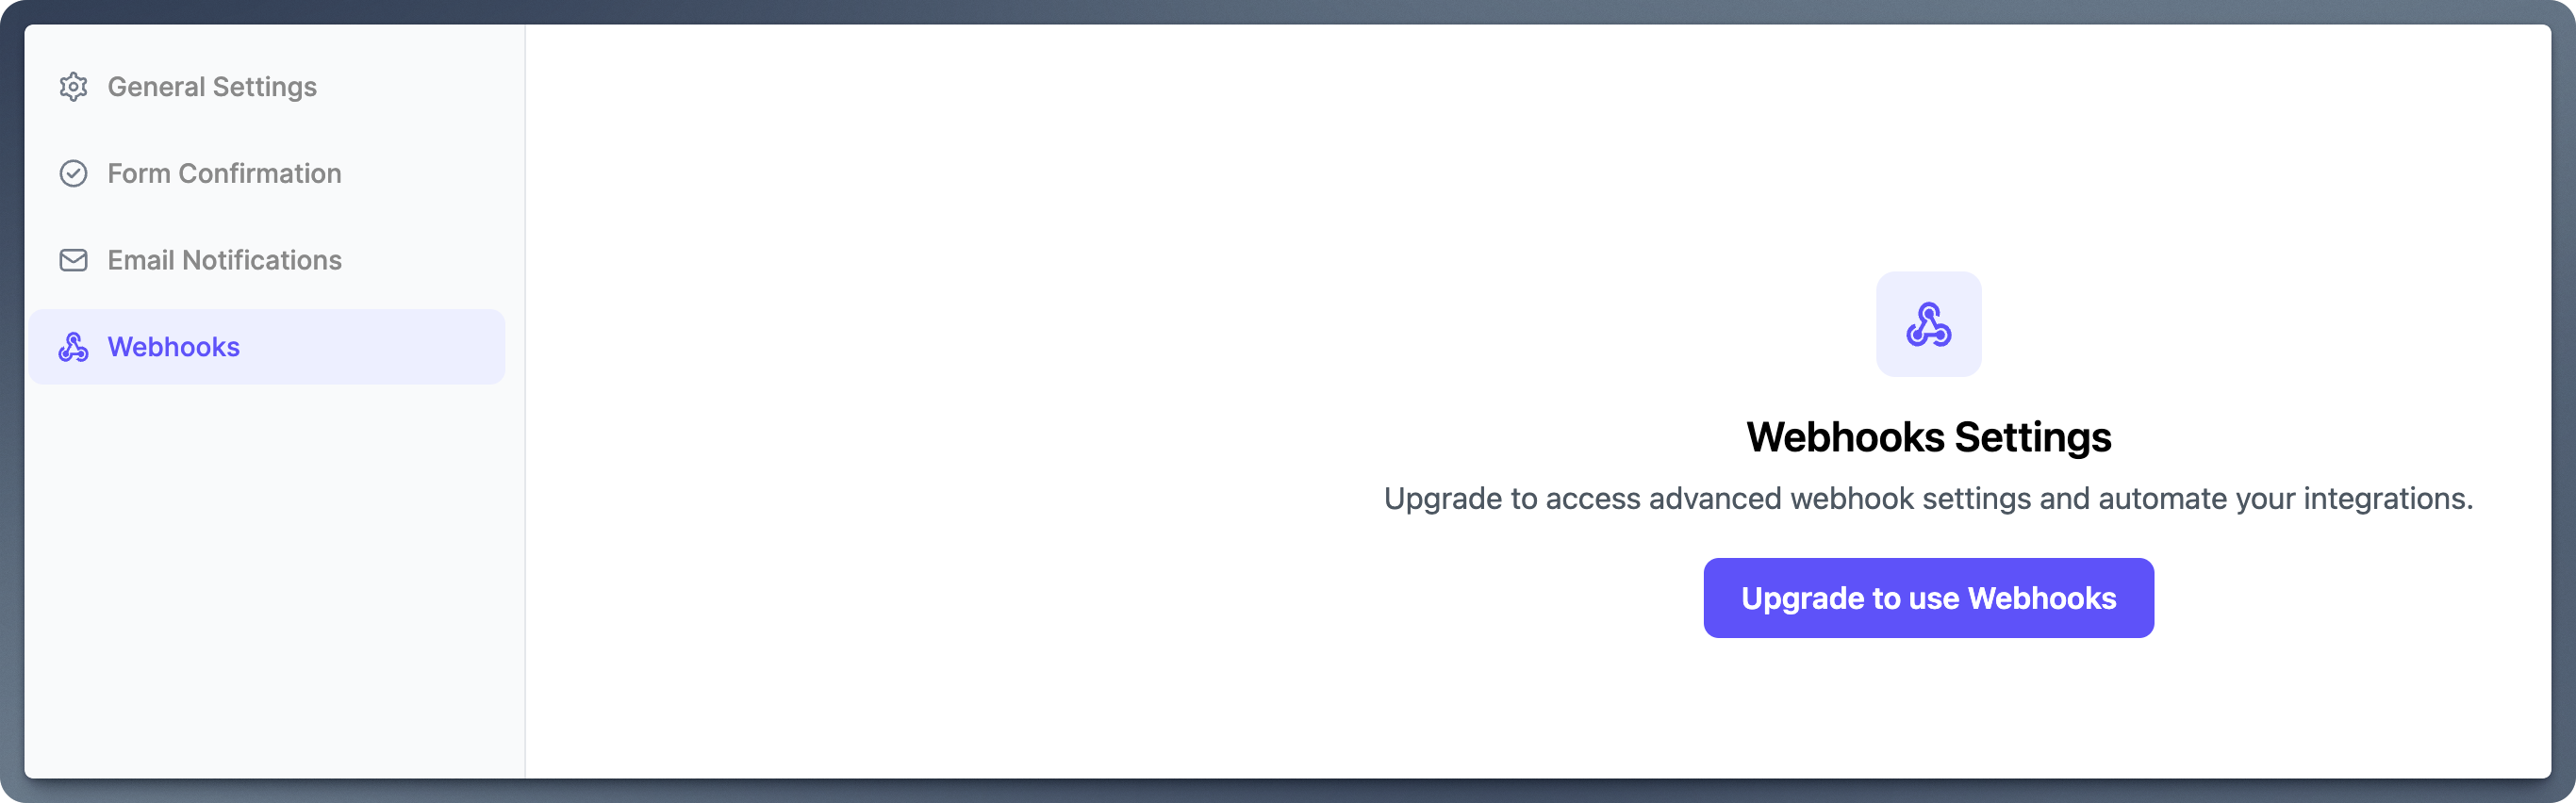
Automate Data Integration (Pro Feature)
Set up automated integrations with third-party tools and apps using webhooks (available in the Pro version). Perfect for syncing data seamlessly across platforms.
Step 6: Design Your Form #

1. Click on “Share Form” to customize the form, preview how the form will look on desktop and mobile devices, and share the link directly.
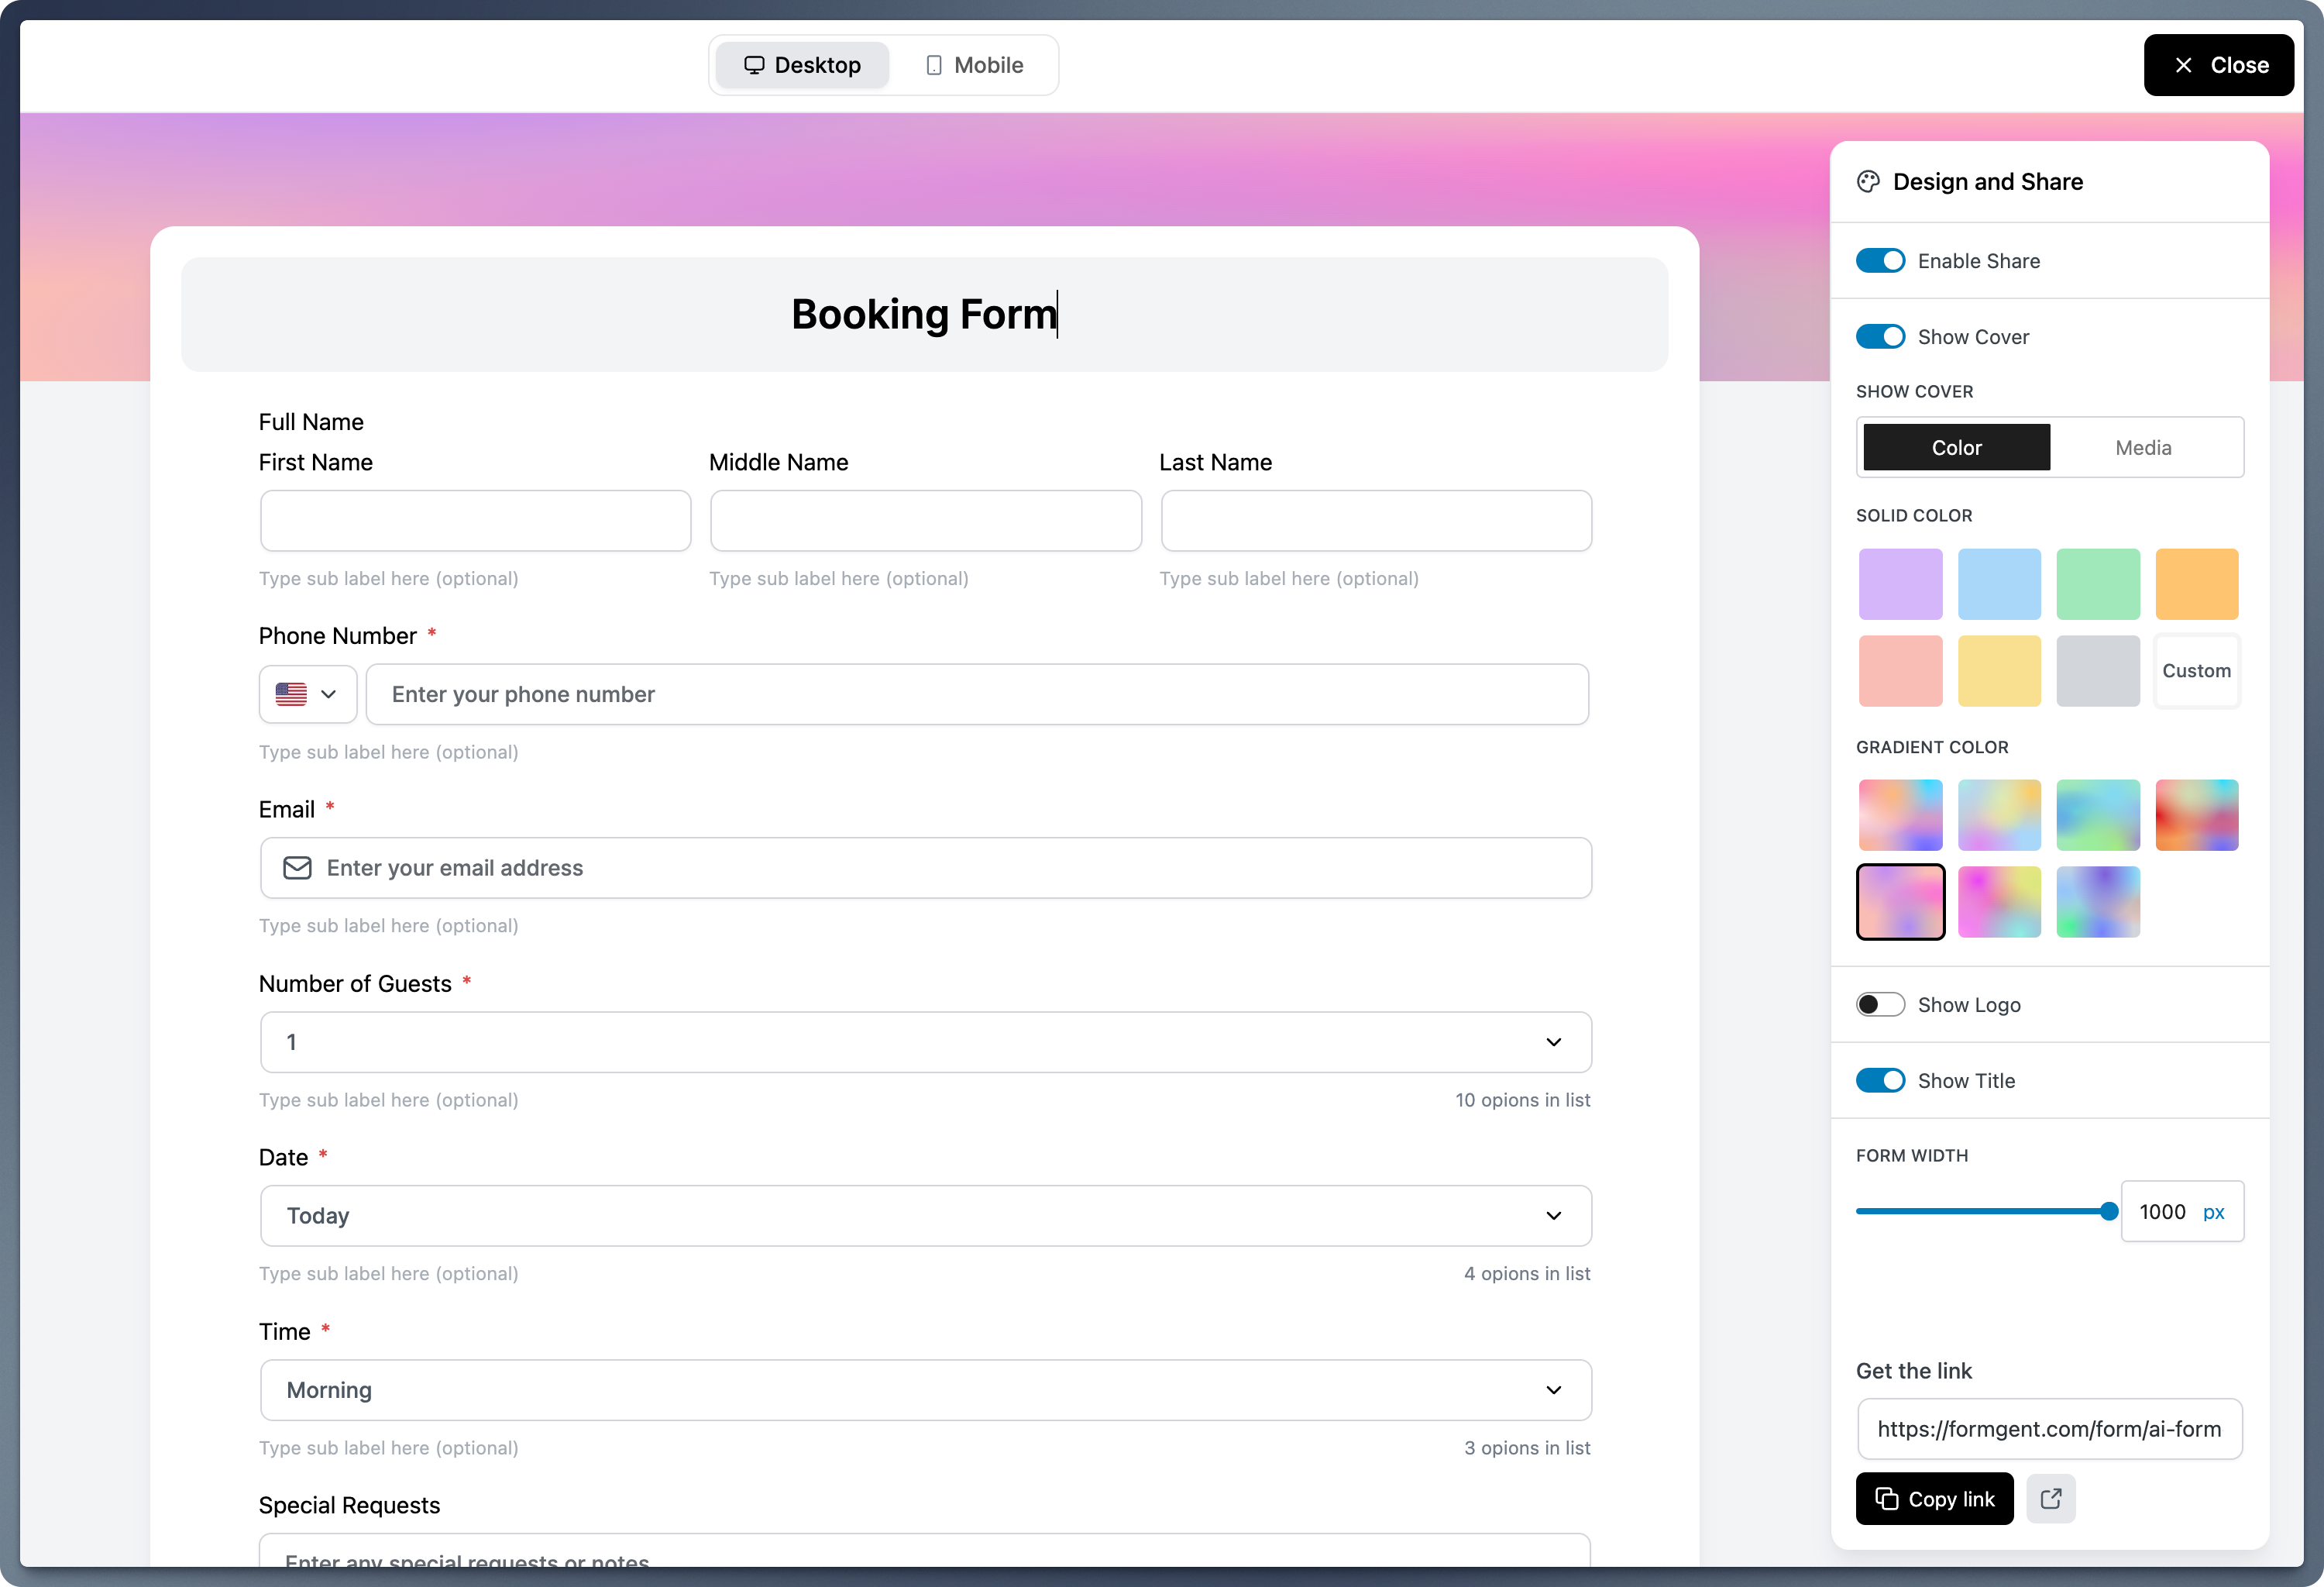
2. Enable Share: Toggle this option to make your form shareable via a unique link.
3. Show Cover: Add a visual cover for your form with customizable options:
- Color: Select a solid or gradient background.
- Media: Upload an image or use existing media as the cover.
4. Show Logo: Toggle to display or hide your logo at the top of the form.
5. Show Title: Enable or disable the form title at the top.
6. Form Width: Adjust the width of the form by dragging the slider or entering a specific value (e.g., 1000px).
7. Get the Link: Quickly share forms without requiring website embedding.
Step 7: Publish Your Form #
- Click the Publish button to make your form live.
- Share the form using:
- Shortcode: Add it to any page or post.
- Live Link Share: Share the direct link of your form shown in Step 8


