
What is Zapier? #
Zapier is an automation platform that connects thousands of apps to streamline workflows. You can integrate over 7,000 apps with Formgent using Zapier to automate form submissions, data management, and more, without writing any code.
API Reference for Zapier Integration #
Formgent’s Zapier integration uses secure and RESTful API endpoints built into the plugin. All endpoints use the GET method.
| Uses | Endpoint | Method |
|---|---|---|
| Authentication Check | {{domain}}/wp-json/formgent/zapier/me | GET |
| Retrieve Forms | {{domain}}/wp-json/formgent/zapier/forms | GET |
| Retrieve Responses | {{domain}}/wp-json/formgent/zapier/responses | GET |
- All API endpoints used (Authentication, Triggers, Actions) are production-ready, live, and publicly accessible.
- All communication happens over secure HTTPS connections.
- Endpoints follow standard REST format using the Formgent WordPress API.
Connect Formgent with Zapier #
Formgent integrates seamlessly with Zapier, allowing you to automate workflows and connect your forms to thousands of other apps (like Google Sheets, Slack, Mailchimp, etc.).
Follow this guide to connect Formgent to Zapier and start creating powerful Zaps!
Pre-requisites Section #
- Make sure Formgent is installed and activated on your WordPress site.
- You must have a Zapier account (free or paid).
Step 1: Log into Zapier #
- Go to Zapier.
- Log in to your Zapier account.
- Click “Create Zap”.
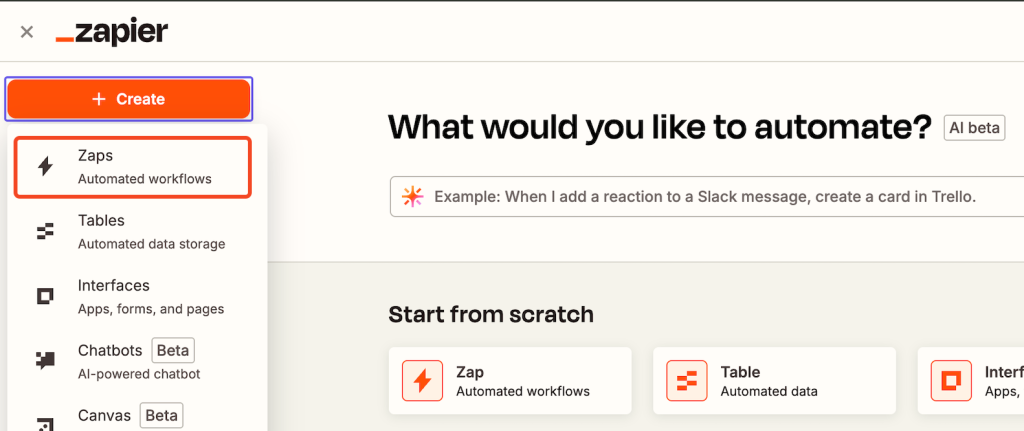
Step 2: Find Formgent in Zapier #
- In the “Trigger” app search box, type Formgent.
- Select Formgent from the list.
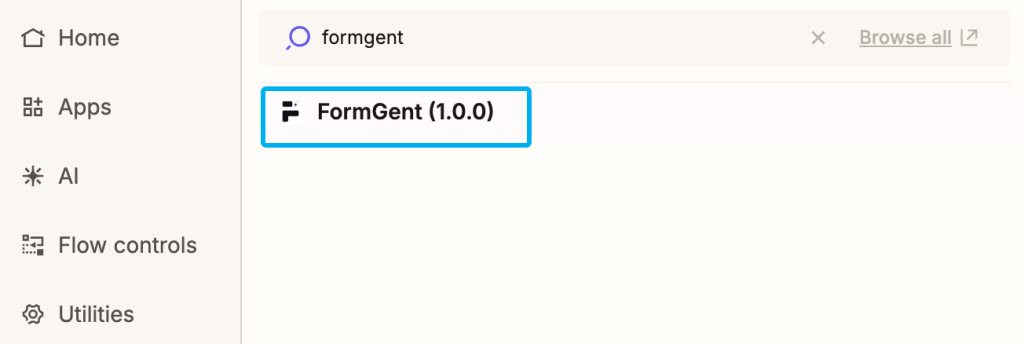
Step 3: Connect Your Formgent Account #
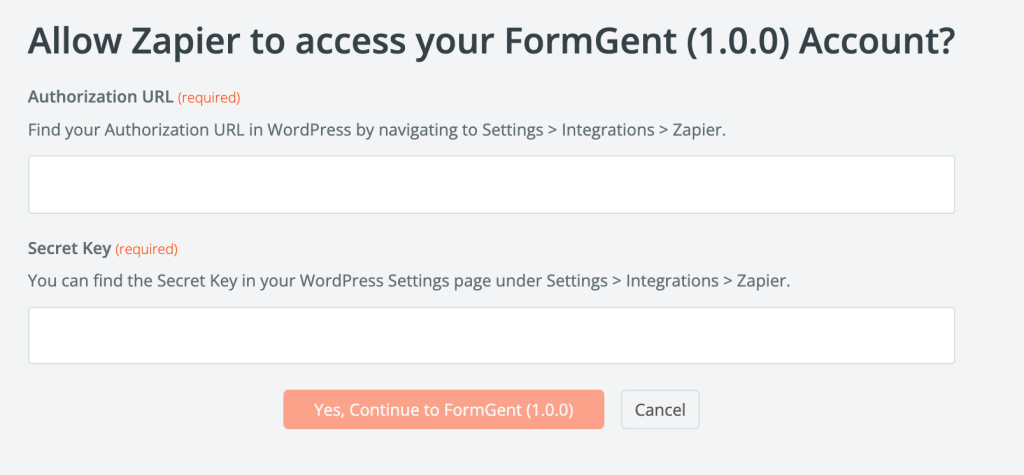
- After selecting Formgent, you’ll be prompted to sign in to your Formgent account.
- A new window will appear asking for two fields:
- Authorization URL
- Secret Key
Step 4: Get Your Authorization URL & Secret Key #
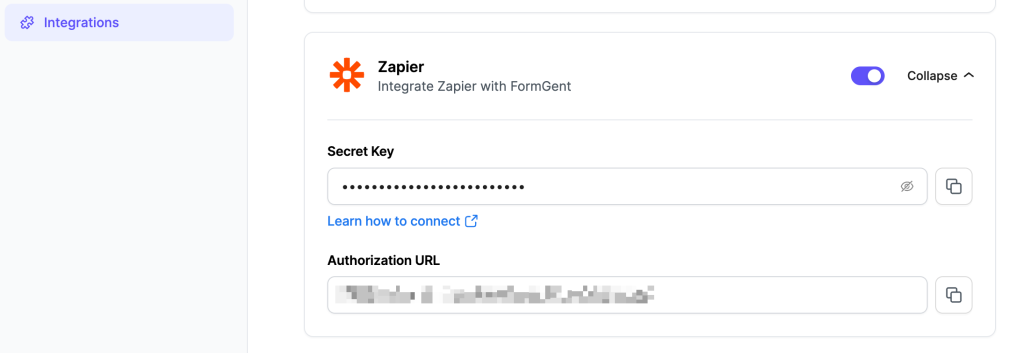
- To obtain these credentials:
- Log in to your WordPress admin dashboard.
- Navigate to:
- Formgent → Settings → Integration → Zapier
- Copy the following values:
- Authorization URL
- Secret Key
Step 5: Connect with Zapier #
- Paste them into the Zapier authentication window and press ‘Yes, Continue to Formgent (1.0.0)
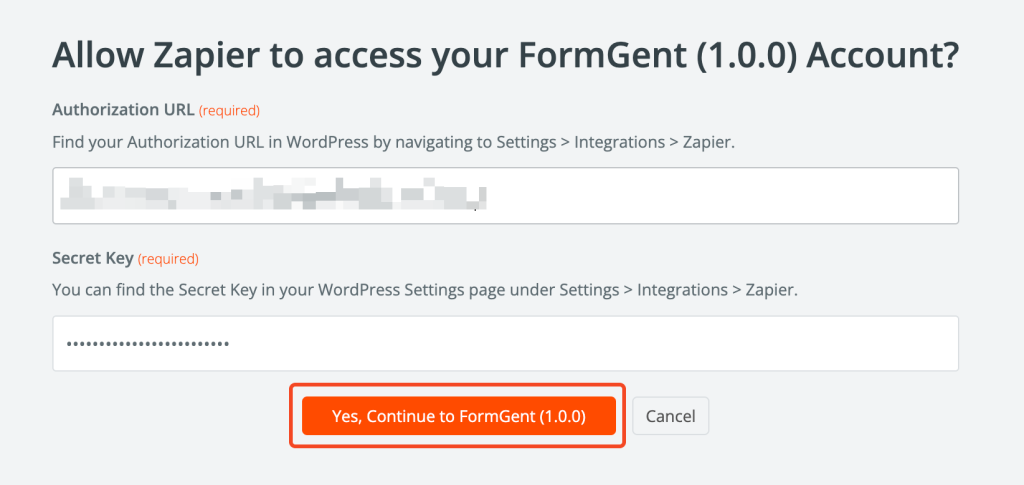
Once successfully connected, Zapier will confirm the connection and redirect you to the automation creation page.
Step 6: Automate Your Workflows #
After connecting your Formgent account:
- Choose your Formgent trigger, such as:
- New Form Submission
- New Entry Received
- Add actions using any of Zapier’s 7,000+ supported apps.
- Customize the fields, test the integration, and turn on your Zap.
Example Use Cases #
- Send form submissions to Google Sheets
- Notify your team in Slack when a new form is submitted
- Add new contacts to Mailchimp or CRM tools
Troubleshooting #
If you’re having issues:
- Ensure your Authorization URL and Secret Key are correct.
- Your site must be publicly accessible (Zapier cannot access localhost or staging environments behind authentication).
- Check that the Formgent plugin is updated to the latest version.
Still need help? Contact our support team or visit our Help Center.


